Classic Quebec Sugar Pie (tarte au sucre)
This post contains links to affiliate websites, such as Amazon, and we receive an affiliate commission for any purchases made by you using these links. We appreciate your support!
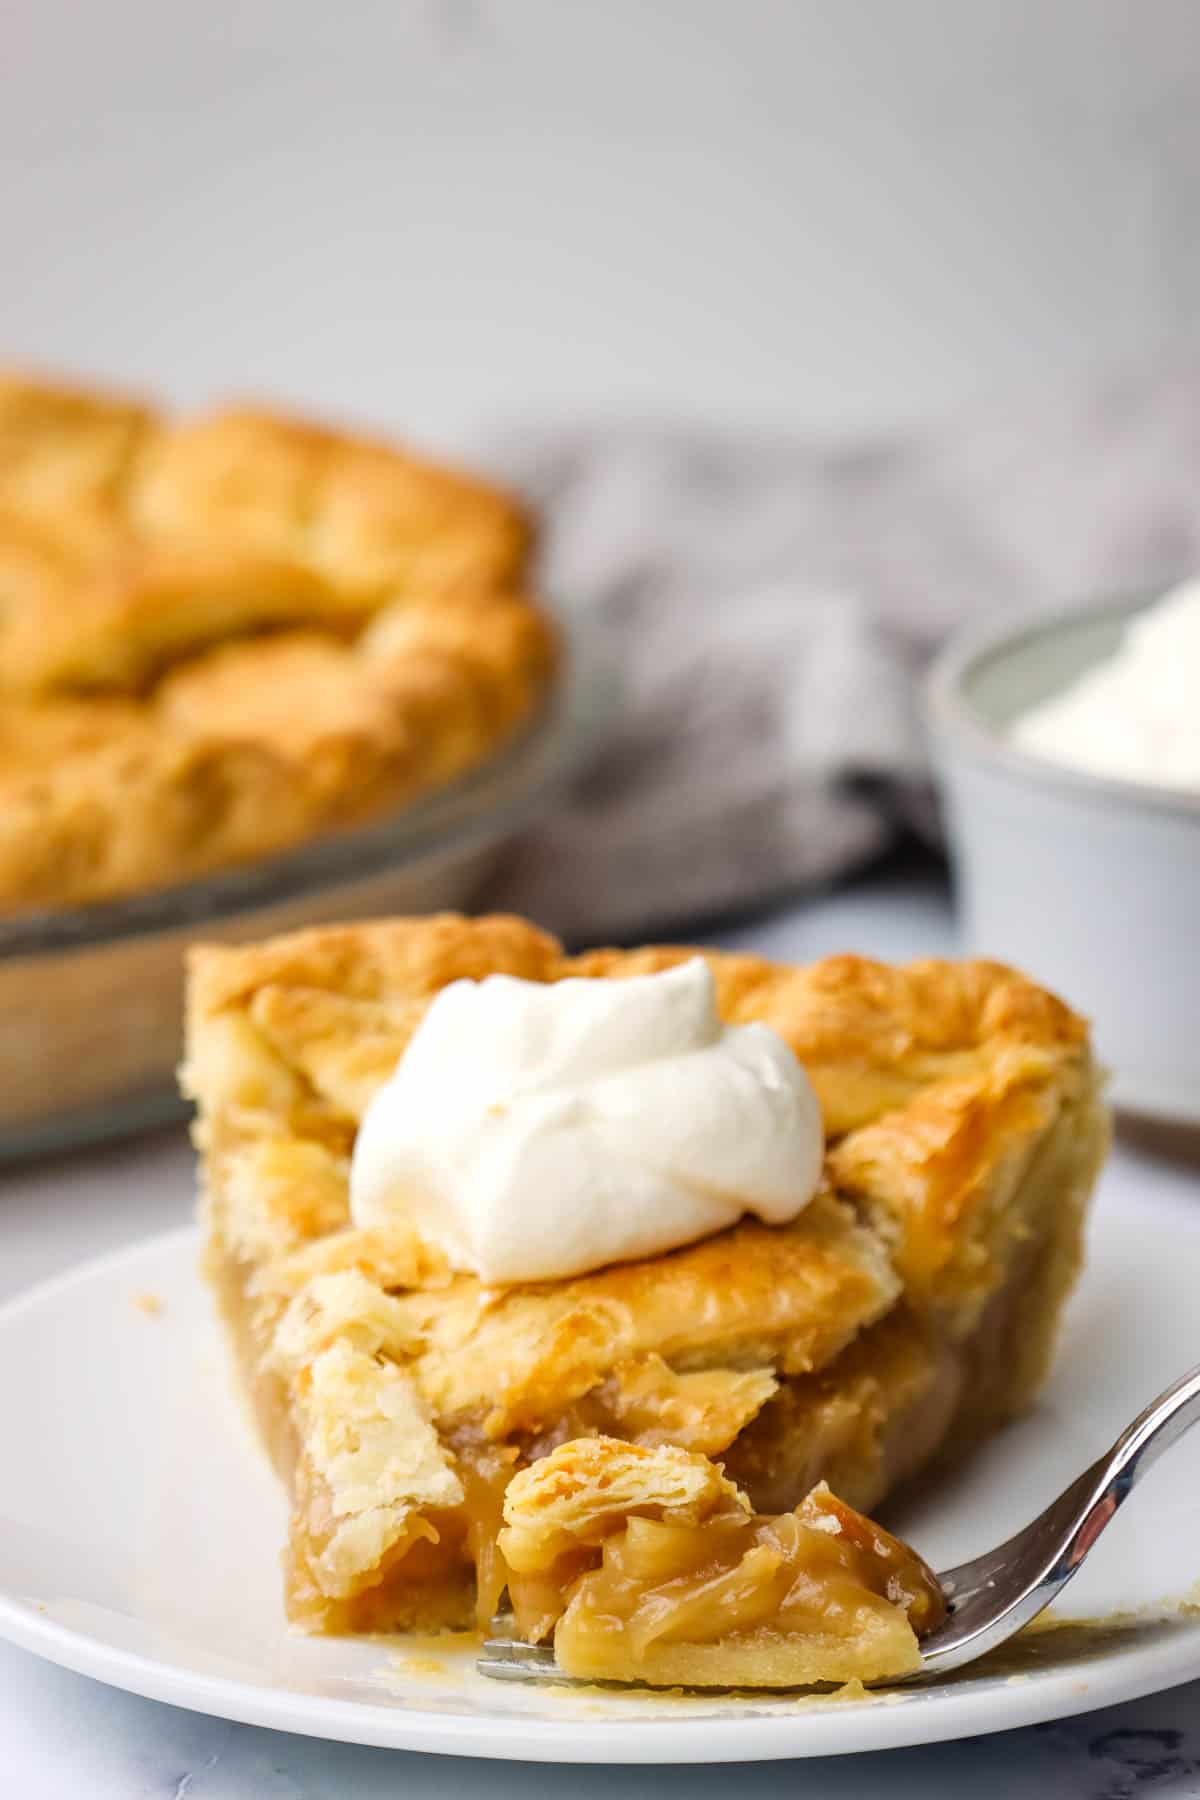
Quebec sugar pie (tarte au sucre) is a classic French Canadian dessert with a smooth, rich, creamy filling. This version is made with both brown sugar and maple syrup. It’s super cheap and easy to make!
Want to SAVE this recipe?
Happy Pi(e) Day!
If you’re from, or are familiar with, Quebec, you probably know that at this time of year, cabane à sucre, or “sugar shack” season is in full swing. Sugar shacks are cabins where maple syrup is produced. In Quebec, many are open to the public during the season, and serve family-style meals full of traditional Quebecois delicacies, including tarte au sucre.
Late winter/early spring is when maple syrup production begins in Quebec. So what better way to celebrate Pi(e) Day than with a classic French Canadian sugar pie – known fondly to French Canadians as “tarte au sucre”!
This is my all-time forever favorite version of this wonderful classic treat!
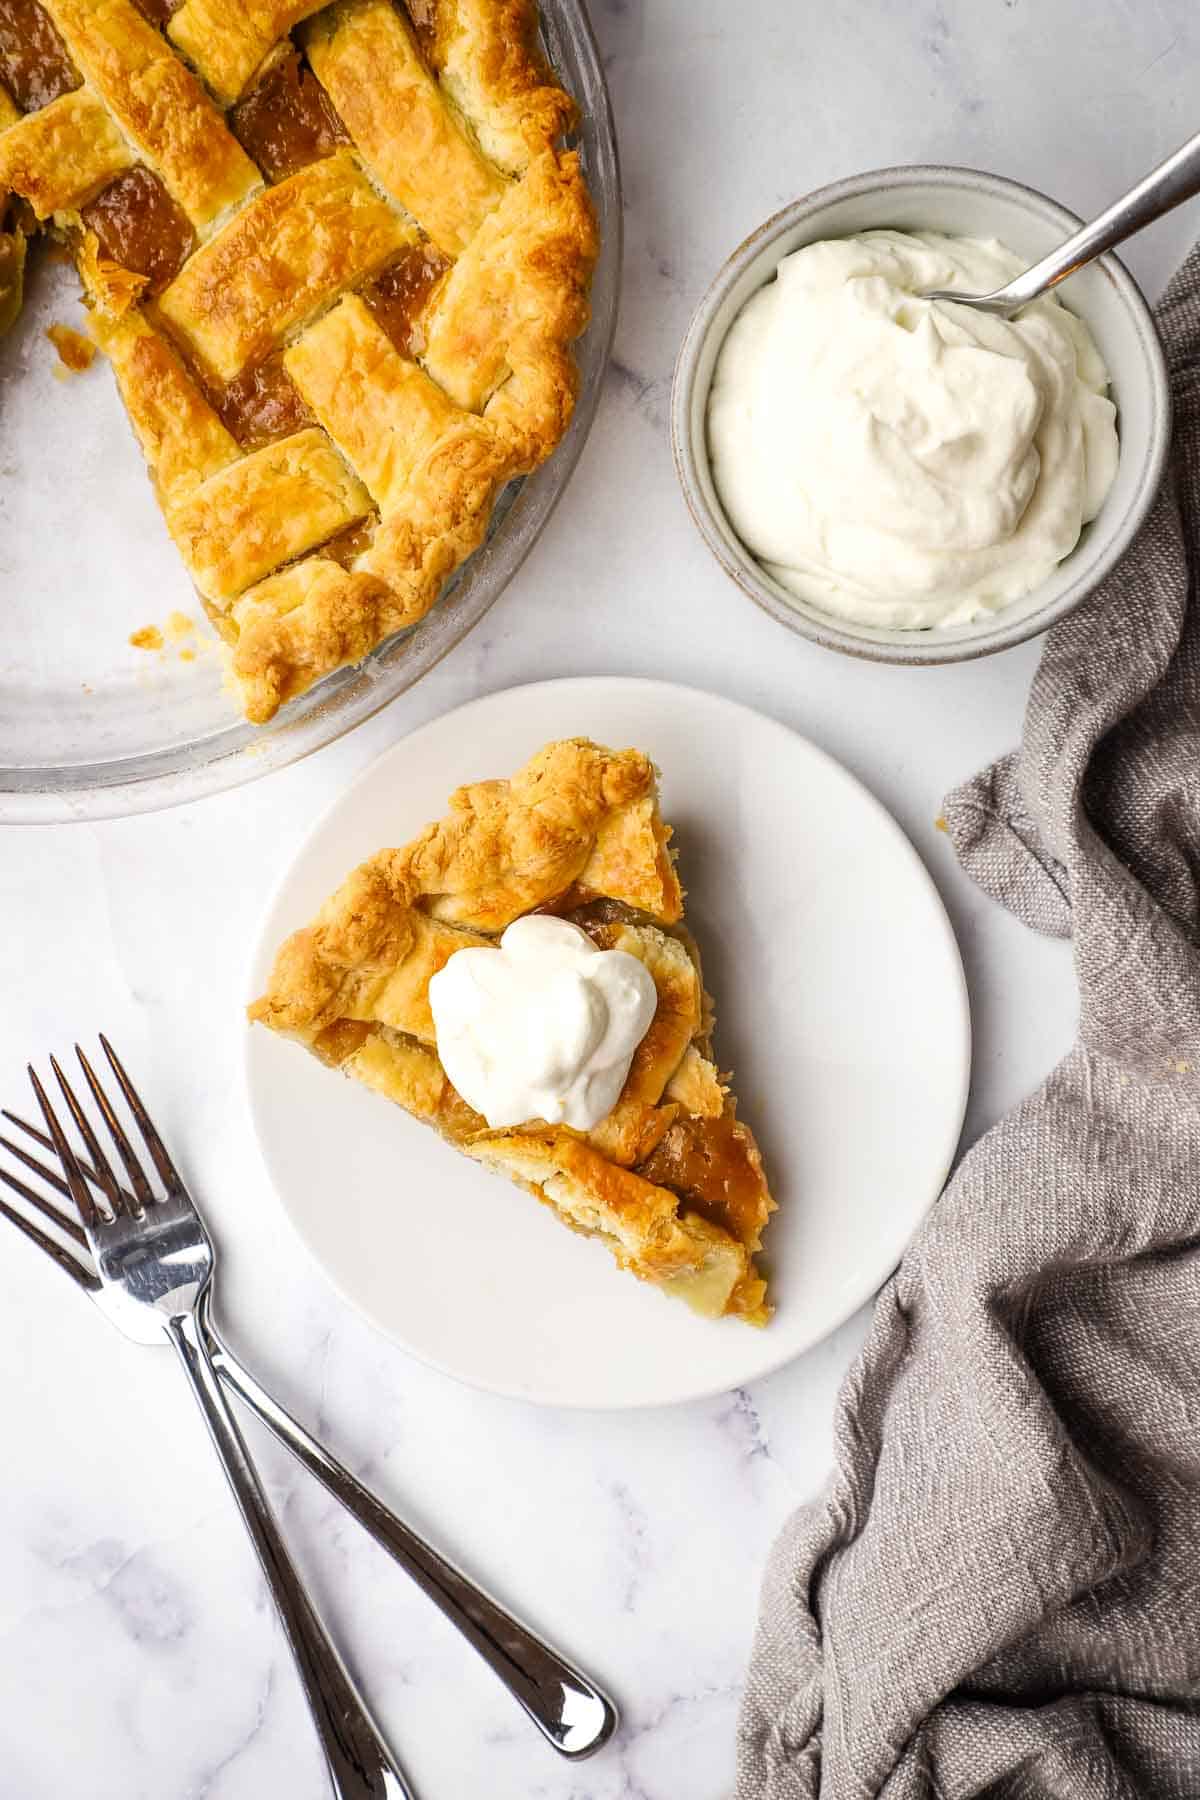
What is Quebec Sugar Pie?
Ingredients
There are MANY different recipes for tarte au sucre, and they vary quite a bit between families and regions of Quebec. It is hard to say what the original versions are. The core components of the filling in most cases are brown sugar and heavy cream.
Many versions of tarte au sucre filling contain butter, but this brown sugar pie recipe does not. Many versions also contain egg, either a whole egg or just an egg yolk, but not this one.
The filling is usually thickened with all-purpose flour and/or cornstarch. Some recipes have a filling that sets completely (usually those recipes contain egg) and slices cleanly, and others, like this one, have a softer, messier, filling.
Tarte au sucre doesn’t always contain maple syrup. Some versions are made with maple sugar or brown sugar only, and others with maple syrup only (often called maple syrup pie instead of sugar pie). This version has both brown sugar and maple syrup.
What does tarte au sucre taste like?
If you’ve never had Quebec sugar pie – or tarte au sucre – it has a smooth, rich, creamy filling that is pretty sweet, but not as cloying as you might expect.
Depending on the recipe, the sugar pie filling can sometimes have a grainy texture, but I’ve deliberately avoided that in this recipe by fully melting the sugar in the filling.
It is different from regional American version of sugar pie, which is more of a custard filling and is usually made with white sugar, or some combination of brown and white sugar. Tarte au sucre has a golden brown filling, while American sugar pie has a light yellow, cream-colored, filling.
It is somewhat reminiscent of the American holiday classic, pecan pie, but is made without corn syrup or, obviously, pecans.
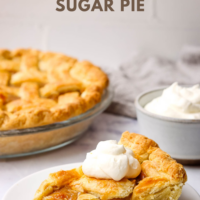
Tarte au sucre is often served warm and messy, plain, or with a scoop of vanilla ice cream. (My husband was quite scandalized that I chose to top mine with whipped cream for the photos!)
Tarte au sucre originated in the north of France and was brought over by French settlers in Quebec. Here’s a brief history lesson if you’re interested!
Pie Crust
Sugar pie is usually a single crust pie, but I added a top crust since I love the combination of a flaky, buttery pie crust with this sweet, creamy filling. I also like the top crust with this version because the filling is on the softer side and the top crust helps contain it. Consider the top crust optional!
And speaking of crust, if you’re intimidated by homemade pie crust, here’s my full post on how to make an easy pie crust by hand with the ultimate flaky texture, with no food processor and only four ingredients.
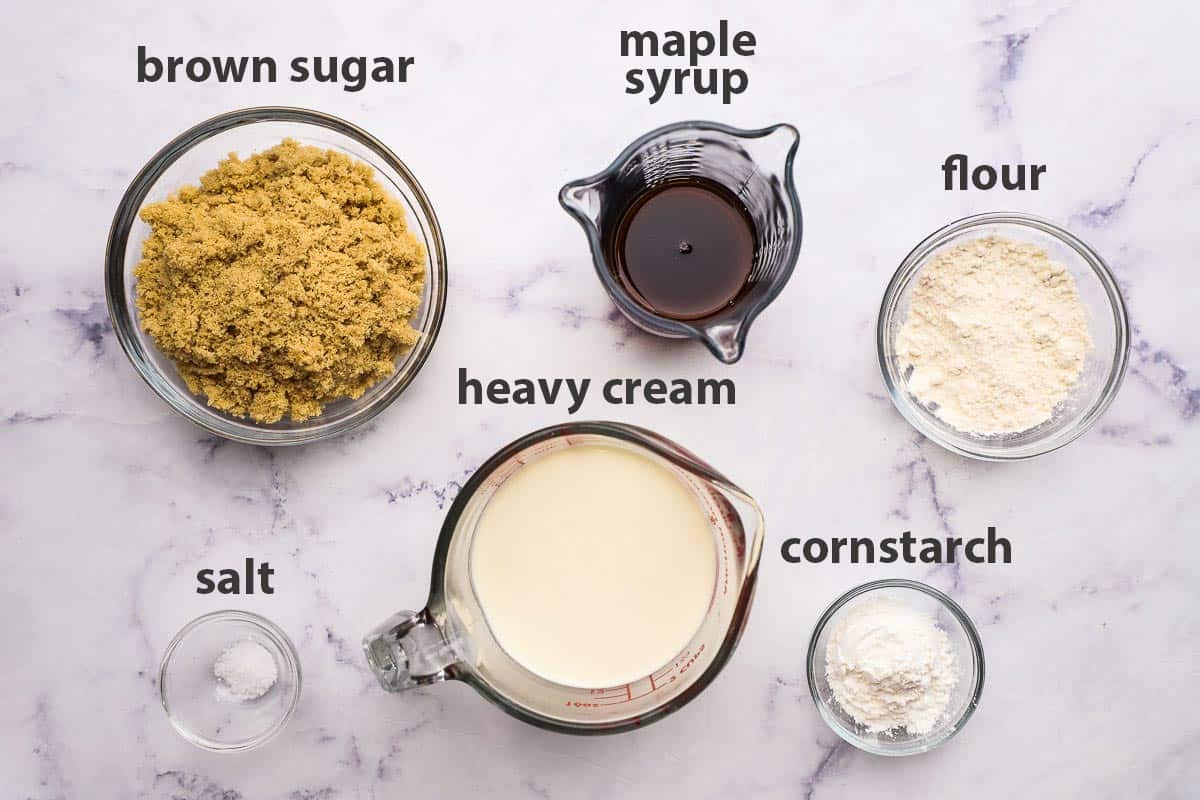
Ingredients for making sugar pie
Step-by-step Instructions
Pie crust
- Combine flour and salt in a large bowl with a whisk. Using a pastry blender or your hands, cut in the cold butter until it is in pea-sized pieces. You can use a food processor if you like, but be very careful to only pulse until the butter is still in small but visible chunks before adding the water.
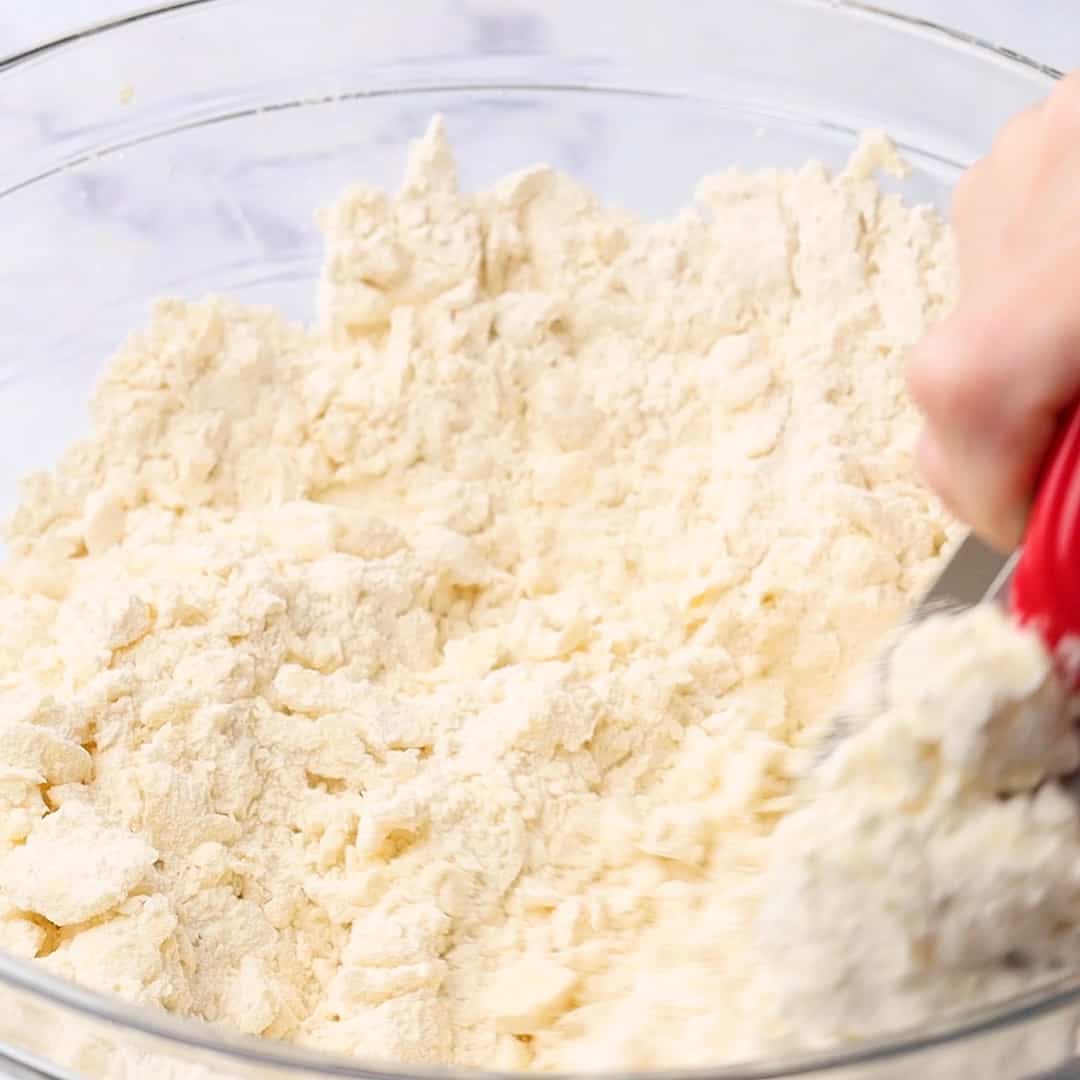
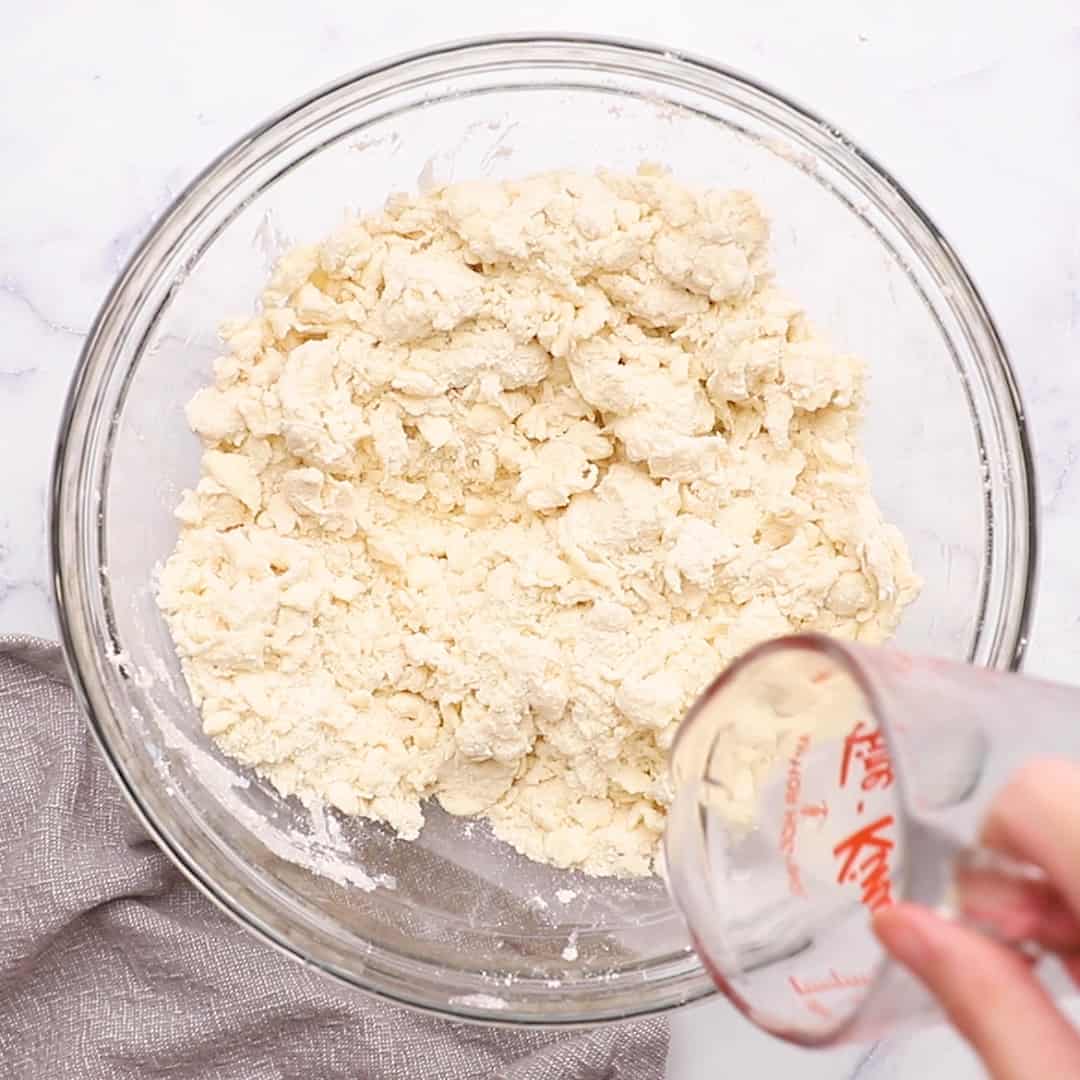
2. Mix in the water gradually just until the dough can be shaped into a ball. If using a food processor, test the dough with your fingers periodically to see if it is holding together and stop adding water as soon as it does.
Important: Avoid using too much water, since this will result in an elastic dough that will turn out tough when baked.
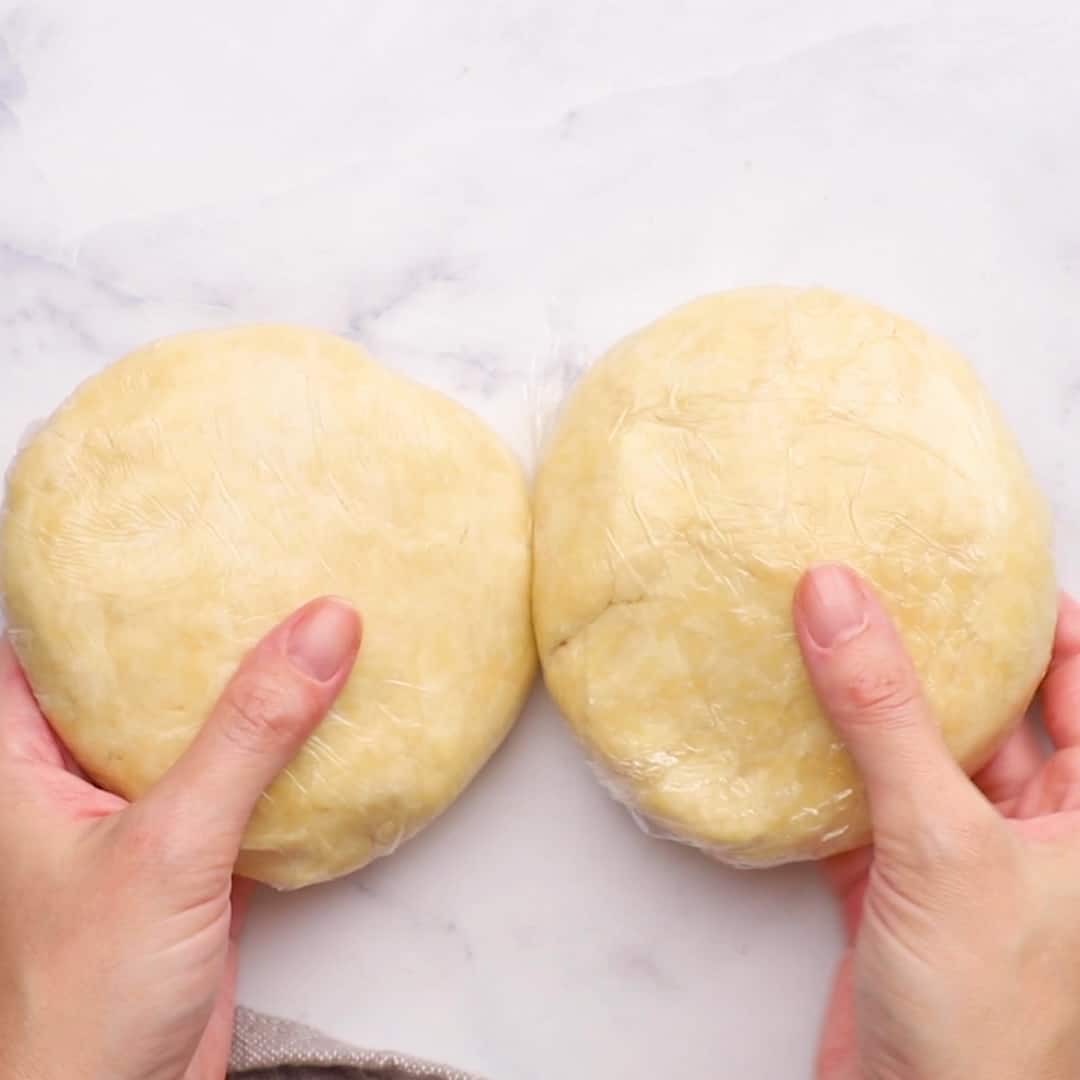
3. Divide the dough equally in two, wrap the halves in plastic wrap, and shape and flatten them into disks. Refrigerate for at least an hour.
When the dough is almost done chilling, prepare the pie filling.
Pie filling
- Preheat the oven to 400 F. Mix the brown sugar, flour, cornstarch, and salt together in a medium saucepan using a whisk.
- Add in the heavy cream and maple syrup and whisk to combine.


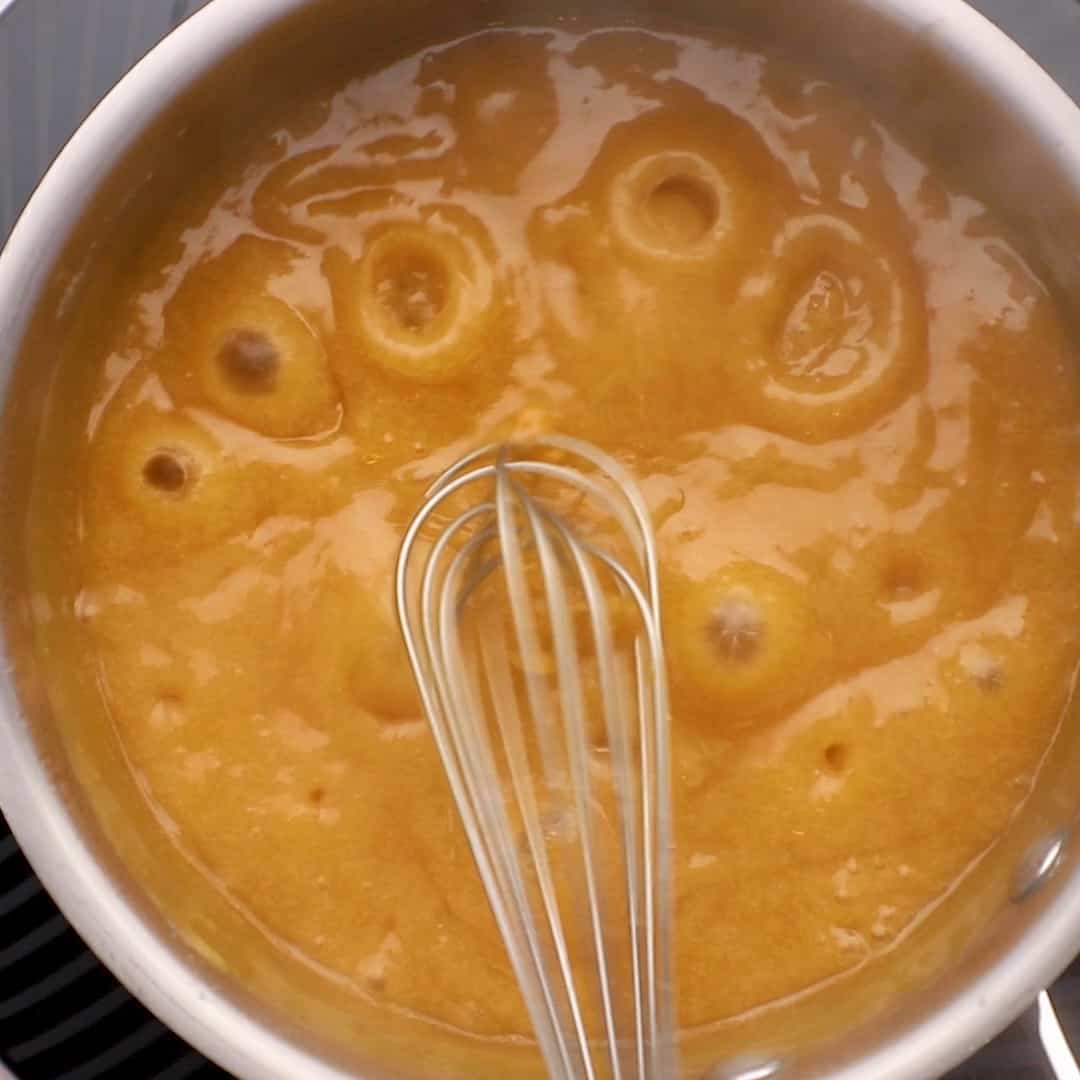
3. Turn the heat up to medium-high and bring the mixture to a boil. It will be thin at first, but as the corn starch and flour are activated, it will thicken.
Boil for 1 minute, whisking continuously to prevent the sugar from burning on the bottom of the pan, then remove from heat and set aside to cool. It can still be warm when you pour it into the pie shell, but not piping hot.
Now, assemble!
While your filling cools, it’s time to work with the crust.
- Roll out one disk of chilled pie crust on a lightly floured surface with a rolling pin until it is large enough to fit a 9-inch standard (not deep-dish) pie pan, with a 1/2 inch overhang. Leave the second disk in the fridge until you’re ready to roll it out.

2. Cut the second disk into strips for a lattice crust if you wish. You can brush the strips with a little milk to give it a golden color as it bakes.


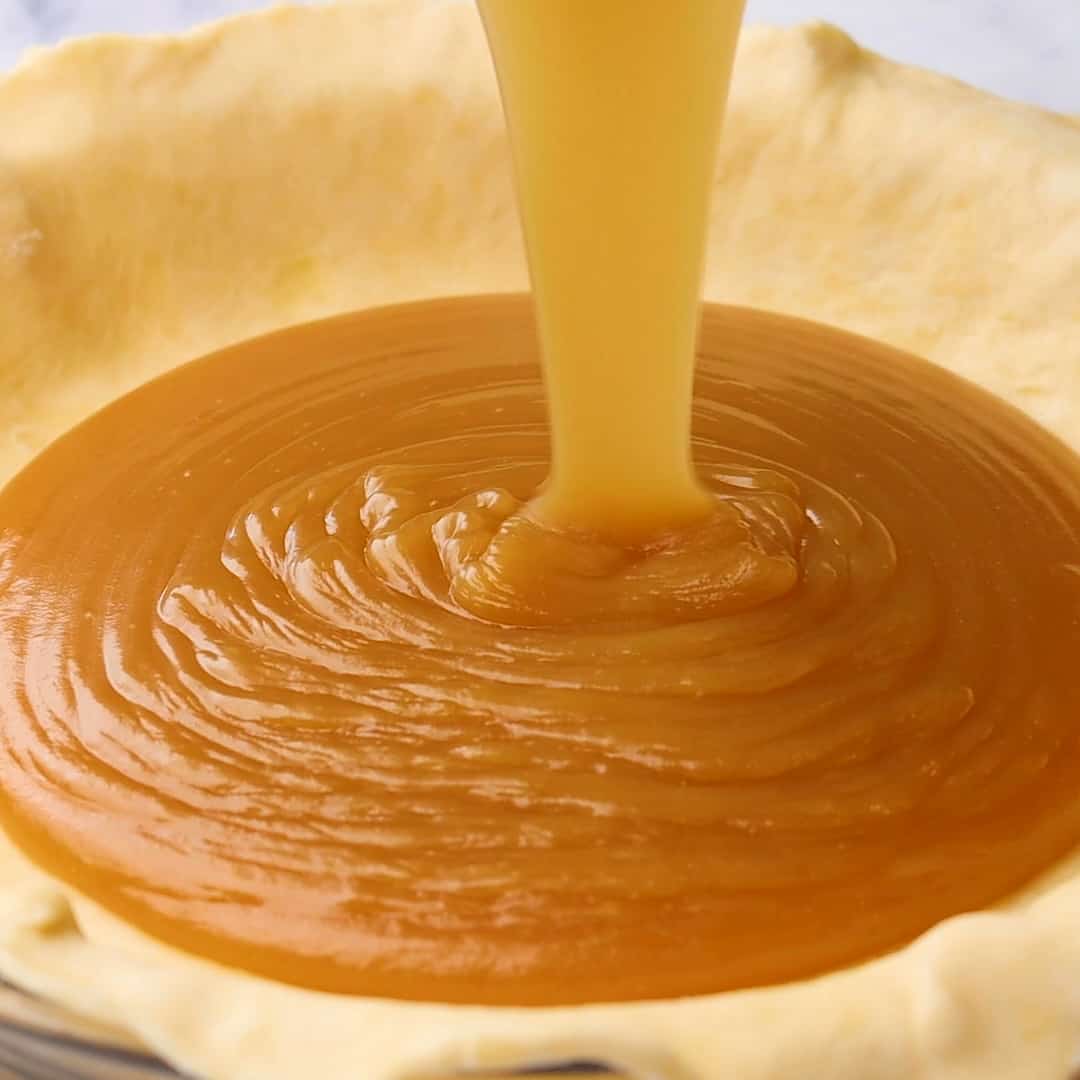
3. Pour the filling mixture into the pie pan, and then starting from the center with the longest strips, weave the strips of dough on top to cover the pie.

4. Trim excess dough dough so that it hangs over by an inch. You can use your fingers or a fork to crimp the edges.

5. Bake the pie for 35-40 minutes in the preheated oven, or until the crust is brown and the filling is bubbling.
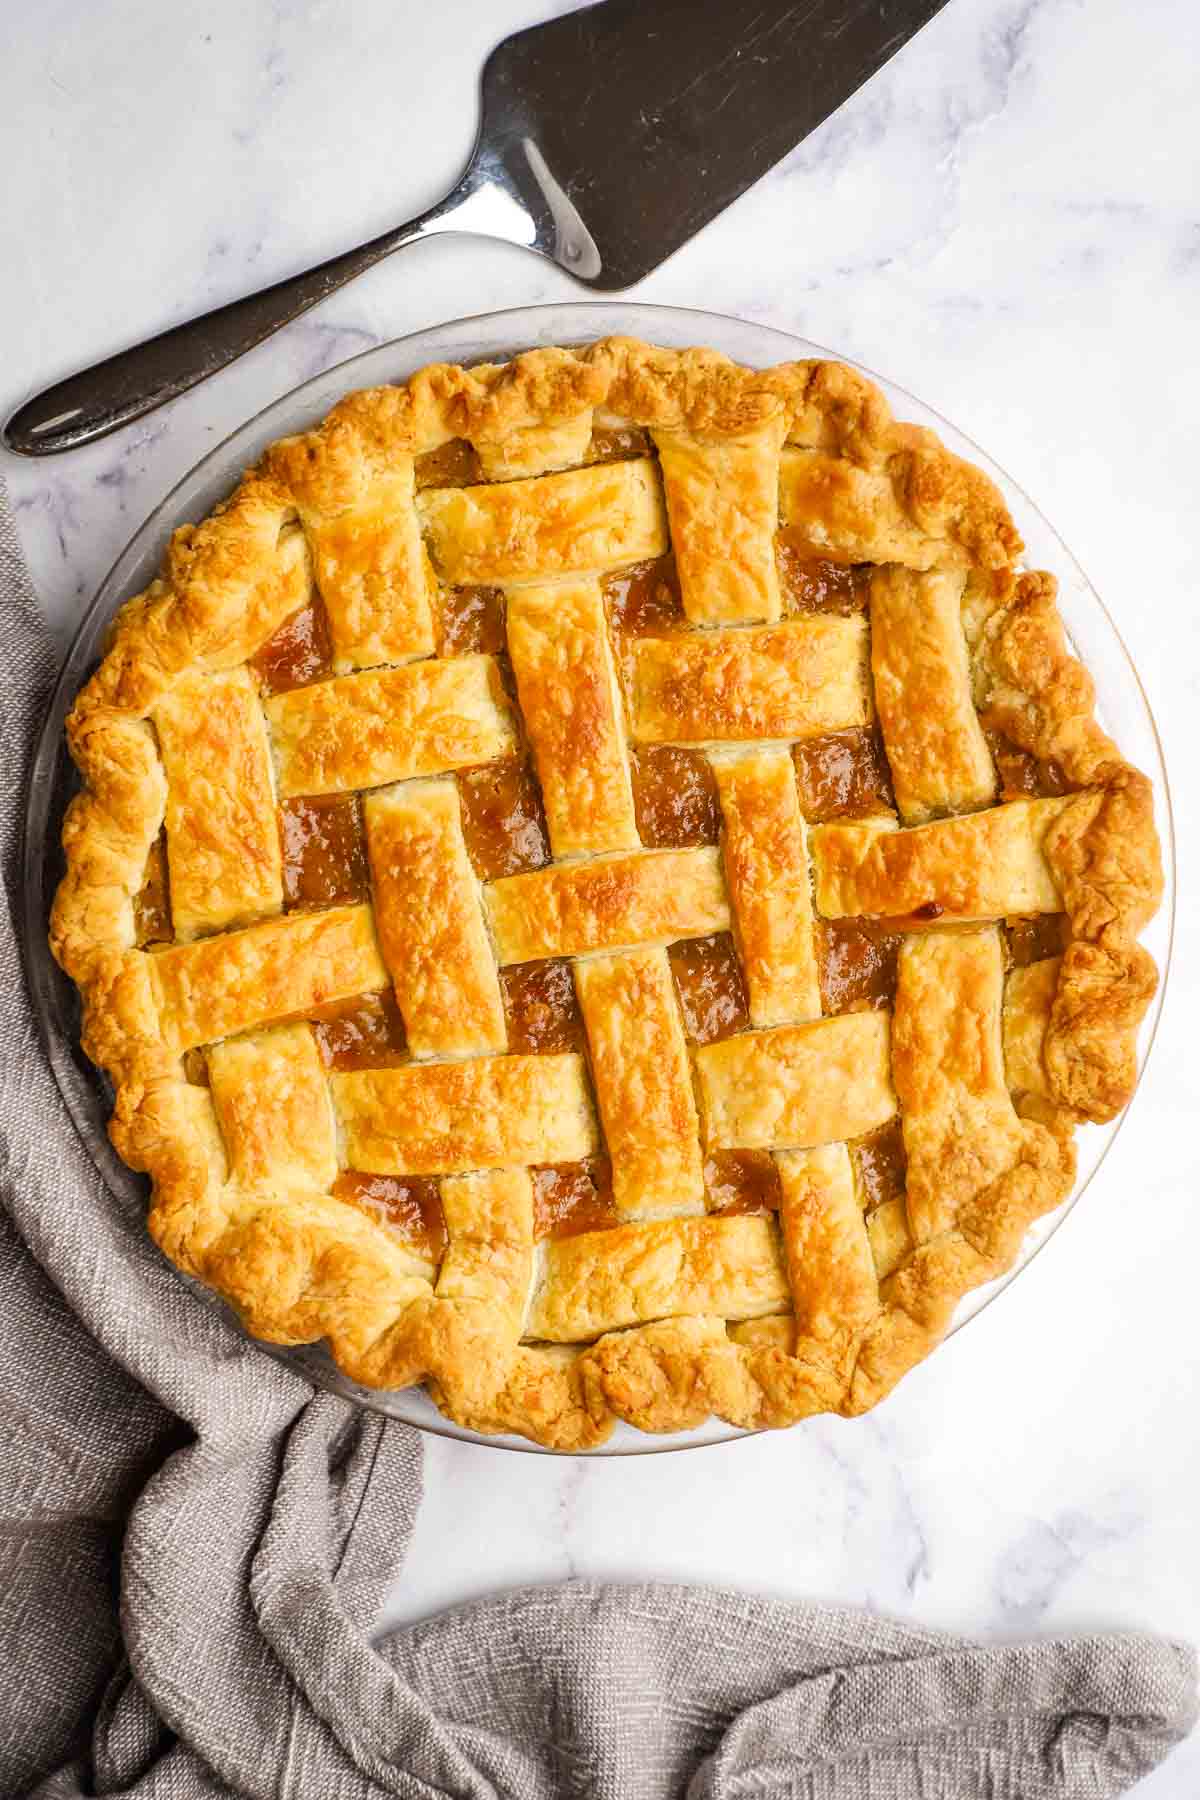
This happens to be one of my favorite pies, both for nostalgic reasons and because it is just really really delicious. Like most traditional Quebec desserts, it’s also cheap and extremely easy to make!
Sugar pie is popular year round and is a diner staple in Quebec, but it’s also an indispensable part of every holiday table here.
So if you’ve never had a real Quebec sugar pie, I would urge you to give it a try! It’s a real taste of the sugar shack at home.

(But if you’re more into fruit pies and are looking for a great holiday dessert, this simple apple cranberry pie should do the trick!)
And if you’re looking for more easy dessert inspiration, follow me on Pinterest, Instagram, Facebook or Twitter.

Quebec Sugar Pie (tarte au sucre)
Tools for This Recipe
Ingredients
All-Butter Pie Dough (Makes one double pie crust)*
- 2.5 cups all-purpose flour
- 1/2 teaspoon kosher salt
- 1 cup unsalted butter
- 1/2 cup ice water
Filling
- 1 cup light brown sugar
- 1/4 cup all-purpose flour
- 2 tablespoons corn starch
- 1/4 teaspoon salt
- 1.5 cups heavy cream
- 1/2 cup pure maple syrup
Instructions
Pie Crust
- In large bowl, whisk the flour and salt together. Cut in the cold butter with a pastry blender or your hands until the butter is in pea size pieces.
- Gradually add the water in, mixing until the dough can be formed into a ball. Be careful not to add too much water as this will result in a tough dough, once baked.
- Form two balls of equal size, pat them into discs, and wrap with plastic wrap. Chill for at least 1 hour.
Filling
- Preheat the oven to 400 F.
- In a medium saucepan, whisk together the brown sugar, flour, corn starch, and salt. Add the cream and maple syrup and whisk to combine.
- Turn the heat up to medium high and bring mixture to a boil. It will be thin at first, but boiling will activate the corn starch and flour and it will thicken. Boil for one minute, whisking constantly so the sugar doesn't burn on the bottom of the pan, and remove from heat. Let cool while rolling out the pie crust.
- On a floured surface, roll out one pie dough disc until it is large enough to fit a 9 inch (not deep dish) pie pan.
- Place the dough into the pie pan, and put in the refrigerator to keep cold while you roll out the second disc. Cut the second disc into strips for a lattice crust. Brush the strips with a little milk if desired. This will give the crust a golden look.
- Pour the filling into the pie pan and weave the strips of dough on top to cover the pie. Trim the excess pie dough to leave a one inch overhang. Crimp the edges with your fingers or a fork.
- Bake the pie in the preheated oven for 35-40 minutes until the pie is golden and the filling is bubbling. The filling will set as it cools, but this pie is often served warm and messy!



Excellent pie in all respects.
Used lactose free whipping cream for a couple of us lactose-intolerant folks. The butter in the pastry (not normally a problem) still may have upset one of our systems. We feel the wonderful taste was worth it.
Don’t try a double boiler to cook and thicken the filling; I eventually ditched the bottom pot because the filling may never have come to boiling otherwise.
Forgot to leave an inch overhang of the dough. There was some shrinkage but honestly, I wish I had taken a photo because it looked magazine-worthy.
Thanks for this recipe, to which I will return without a doubt!
Fantastic, I’m so glad you enjoyed it! Thank you for the excellent tips too 🙂
Québec native here. We always eat ours topped with plain UNWHIPPED heavy whipping cream. It helps to cut the sweetness.
That sounds delicious! My grandmother from Matane served it with ice cream and my Montreal husband thinks whipped cream on tarte au sucre is a travesty and couldn’t believe I did that for these photos ha! To each their own 🙂
Hi! I was wondering how long this will stay good after being made both at room temperature or if kept in the fridge. Also, can it be frozen and cooked at a later time? Thank you!
It will keep well in the fridge for 4-5 days (even up to a week), and about 1 day at room temperature. The baked pie also freezes very well, just thaw it in the fridge overnight when you’re ready to serve. As for freezing the UNBAKED pie, I haven’t personally tried it, but I think it would work. Baking straight from frozen would be your best bet. You would skip the egg wash during assembly and add it before baking, then bake at 425F 15-20 minutes, lower the temp to 400F bake another 35-45 minutes or so until bubbling (you may need to cover the edges with foil to avoid over-browning). I hope that helps!
I would like to try this version. Back about 30 years ago my French Canadian roommate would make a version of this in our century old wood stove oven. Very different though – filling was brown sugar, cubes of cold butter and condensed milk, all added one at a time to the pie shell. There might have been a sprinkle of flour in there as well. Once it just sat in the oven for a few days and was reheated a couple of times from lighting the stove – and it turned into the most delicious crust covered toffee -like thing that still haunts me today. 🙂
Wow!! Thank you so much for sharing that Ben! I can only image what that must have tasted like. I’ve never heard of that way of making sugar pie, and honestly everyone seems to make it differently, but that is by far the most interesting version I’ve heard of! 🙂
I have to use a pie crust made with shortening or lard because one of my guests does not eat butter or margarine; will this affect the flavour of the pie, because I notice there is no butter in the filling? Also, I want to make this as a one crust pie; should it be baked for the same length of time?
Using a shortening or lard-based pie crust is totally fine, especially if you’re only doing a bottom crust! I would bake for the same amount of time 🙂
I saw someone make this pie on IG and they finished it by bruleeing the top. It looked delicious! Do you recommend doing this?
Oh that could be interesting to try! You might need to sprinkle the top with a little additional sugar to help the caramelization like a creme brulee, but then again the filling is already pretty sweet, so it might work. You can always test it on a little section with a kitchen torch and see what happens!
I see so many variations of sugar pie online, which makes it hard to decide which one to attempt. This recipe seems to have quite a bit more flour than other recipes, plus cornstarch. Other recipes only have two tablespoons of flour. I was wondering what the texture of your baked pie filling is like. I’m looking for something soft and creamy as opposed to dense.or too gelatinous. How would you describe this version? When eating it, is it obviously that it is made with flour, or is it like biting into a sugary cloud? Also, do you think the flavour or texture would chamge much if I added more maple syrup and less brown sugar?
It’s almost a soft pudding-like texture, not dense or gelatinous at all. It’s very smooth, not grainy at all. You can leave out the cornstarch if you like, but it will be somewhat messier when sliced. This is the texture I prefer and I don’t taste the flour or cornstarch, personally. You could sub some of the brown sugar for more maple syrup, again it would probably be even softer, but if that’s what you like, go for it! I hope that helps!
Hi,
I am going to be making this pie for a potluck lunch at the office. Everyone is bringing a food that comes from their background, so I am excited to try this!
My oven is older and cooks best at a temp lower than 400. Can I cook this pie at 350 for a longer period of time? If yes, how long should I cook it?
Thanks
Hi Sam! I would just be concerned about the filling not setting well enough if you bake at a lower temperature, but as long as you can get the filling to bubble for a while, you should be ok! I would set the oven as high as you comfortable can, and then bake until it’s bubbling all over, including the center. You can tent it with foil if the crust starts to brown too much, but I think you’ll be ok for an extra 10-15 minutes or so, which is probably about how long it will take I think. I hope it works out!! 🙂
I’ve tried many sugar pie recipes and find this one to be easiest, pretty fool-proof, and overall best. I make the single-crust version and of course use maple syrup. One tip: check your pie after 20 minutes, then every 5 minutes. Depending on your oven, 25 minutes may do the job. Overcooking can result in cement pie…
Great tips!! Thank you so much for taking the time to comment 🙂
Omg i put baking powder in instead of corn starch. Is it wasted
Oh no!! I’m so sorry Jeanne. Probably the flour was enough to thicken the filling, but I’m guessing the baking powder gave it a funny taste…
Hi there! I was wondering, would it be ok to do a complete cover with the pie crust instead of lattice? Or would that affect the end result of the filling? Thanks!
You can totally do a full cover instead of the lattice, no problem! 🙂
Could you make these into tarts?
Oh yes! I’ve made it into mini tartlets using a mini muffin tin, but you could also use 4-inch tartlet molds. When I make tarts I don’t bother with a top crust.
Hi, how long would you bake this as tarts?
It really depends on the pans/size of each tart. For instance I’ve made mini tartlets using a mini muffin pan in the past. For this I fitted rounds of dough (2.75 inches) into each cup of a 24-cup GREASED mini muffin pan. Chill pan about 10 mins, then pre-bake the crusts at 325F for 7 mins or so before filling and baking again for around 15-18 mins. Although I don’t find pre-baking the crust to be necessary for the full pie, the tarts cook so briefly that it’s necessary to ensure the crust gets fully baked. You can use other size pans/cups for larger tarts of course, just be sure to pre-bake the crust and start checking to make sure your filling is bubbly and crust is golden at around the 15-minute mark. I hope that helps!
my hubby grew up in montreal, so he is very familiar with this,it is his fav! Thankyou so very very much for the recipe, he misses it terribly. Thankyou again so very very much Fay Collins
This makes me so happy Fay!! This pie tastes like home to me too 🙂
I only made the filling and put it in a gluten free pie crust (also substituted flour with g/f flour) and it was delicious! Thanks.
I’m so happy to hear that!! 🙂
no vanilla? ;D
Could do with a teaspoon or so of vanilla, why not! Many recipes definitely include it 🙂
I’ve never made any kind of pie before, and I didn’t have any Kosher salt. I also accidentally left my filling on the stovetop a little to long (ended up being suuuper thick, with burnt bits and burnt sugar stuck to the bottom). I also didn’t leave my crust in the fridge long enough (this was for a time-sensitive project for French class), and my butter melted half-way through. Miraculously, it still ended up tasting incredible. My family loved it, I loved it, and I’m probably going to get a great grade for school. I’m sure pre-Covid times my classmates would’ve loved it too, and had I followed the recipe correctly it would’ve ended up even better. Really recommend this recipe. I’m going to use the leftover crust for an apple pie! 10/10. Tastes great even with my minimal cooking experience. You’d be doing yourself a disservice by not trying it.
It sounds like you did an incredible job! Thank you so much for reporting back!! <3
Hi! I’m a student and it’s my first time baking a pie for an assignment I have for school, it just looks so tasty that I had to choose this French-Canadian Dessert 🙂 Any advice/tips for a beginner on how to get the best possible crust/pie. If it helps, I’m using a glass pie pan to make it.
Thanks!
Hi!! Homemade pie crust is easy to make, so don’t worry! For best results, make sure: 1) that your butter is cold when you incorporate it with the flour. 2) You still want visible, pea sized pieces of butter even when you’re rolling out the dough. This will ensure your crust is nice and flaky. 3) Water should be ice cold and make sure to only add enough so the dough comes together well enough to form into a ball (this will ensure the crust is not tough). Here’s a whole post about making this pie crust with plenty of tips for success: https://www.ourhappymess.com/easy-pie-crust-recipe-by-hand/
Is it better to make a one crust pie or a two full crust pie? I’m not good with the strips!
Traditionally it’s often served as a one crust pie, so you can definitely go that route! Otherwise a full top crust works too 🙂
THIS IS BY FAR THE BEST SUGAR PIE EVER!
I made this pie about six times now and I can never get enough! My partner and I both truly enjoyed this dessert. I can’t wait to make this pie for my family and friends…. once this pandemic is over!
MUST TRY!
Thank you for this recipe !
That makes me so happy!! One of my faves too <3
HI, do you think I could add a layer of apples to this? Thanks!
Hmmmm that could be interesting! An apple pie usually takes quite a bit longer to bake than this pie though, so if you put a layer of raw apples on the bottom, they may not be fully tender. You could try either slicing them very thinly, or maybe cooking them a bit first. Would love to know if you try it!
This is an easily made recipe with great results. I make this pie at least once a month.
Awesome!! I’m so happy to hear that Steve! 🙂
can i prepare and assemble this pie and store to bake later on in the day so its freshly baked for company?
Hi Jasmine! You can definitely prepare the filling and the crust in advance and keep both refrigerated. But I would wait till you’re ready to bake to pour the filling into the pie crust. After it comes out of the oven, it will still need to cool for a bit (I would say at least an hour) because straight out of the oven, the filling will be too hot and runny. But you can definitely serve it while still warm instead of letting it cool completely! It will be a bit messy, but that’s how I like it, personally :). Hope that helps!
This pie is so delicious. Thank you so much for the recipe.
I’m so glad you enjoyed it! Thanks you so much Melanie 🙂
I have never added maple syrup as a filling in my pies. And this pie here sounds super yummy! I think my pies need this addition too. Thanks for sharing this.
Thank you so much Neha! It is one of my very favorite pies!
Looks so delicious and your photography is so good . Thanks for sharing this recipe
Thank you so much Swati! That is very kind of you!
I had never heard of a sugar pie before, but now I have to try this! It looks so good, and I love that all the ingredients are things that I always have on hand. (Though on second though that might be kind of dangerous…) 😉
Thanks Tracy! It is really good!
I love to get to know new recipes from different countries. I will add this Quebec sugar pie to my list of recipes to try. btw Happy Pi(e) Day to you too.
Thank you Nadja!!
I love everything with maple syrup! I live in Toronto so there is plenty of it here too. I’ve never seen this pie though. So, when we go to Quebec next time I will order it for a dessert. 🙂
Definitely give it a try, Maria!
Although I have never heard of quebec sugar pie before, now I definitely want to try it!! Looks so yummy 😛
Thanks Cat!
I am obsessed with maple syrup, so this sounds incredible to me. Pinning and hoping to try it soon!
Thank you so much Allison! Maple syrup is the best!