Easy Pie Crust Recipe By Hand
This post contains links to affiliate websites, such as Amazon, and we receive an affiliate commission for any purchases made by you using these links. We appreciate your support!
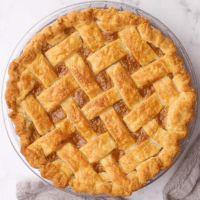
Pie-making is as simple as can be with this easy pie crust recipe by hand! This 4-ingredient recipe needs no special appliances and yields the ultimate homemade, all-butter, flaky and tender pie crust.
I am always surprised by all the competent cooks I know who are intimidated by making pie dough.
I get it though. A bad pie crust really is, well, bad. I’ve had my fair share of tasteless crusts, greasy crusts, doughy crusts, cement-style crusts, and it can really ruin an otherwise delicious pie!
And I guess that’s why there are infinite variations out there for something that is, at its base, made up of 4 ingredients, two of which are salt and water!
I’ve seen pie crust recipes with all kinds of “secret ingredients” intended to correct the potential problems I just mentioned. Recipes with shortening, cream cheese, vinegar, vodka, and the list goes on.
I’ve seen pie crust made in the food processor, blender, with a stand mixer, and a hand mixer. But I maintain, and always will, that with the proper technique and handling of the ingredients, NONE of that is necessary to make the ultimate tender and flaky pie crust.
This all-butter pie crust has served me well over many years of making sweet pies like this classic Quebec sugar pie and apple cranberry pie, and savory pies like this delicious leek and bacon quiche.
It all comes down to a few very basic principles. Read on for the ultimate guide and learn how to make this flaky, easy pie crust recipe by hand. And watch the video to seen how it all happens!
Essential tips for a tender, flaky pie dough by hand
Cold butter
Make sure your butter comes straight from the fridge when you incorporate it into the flour. You can even stick it in the freezer for a few minutes beforehand for extra insurance, if your kitchen is extra warm.
If you feel like your butter is getting soft before you’ve finished mixing the dough, just stick the bowl in the fridge or freezer for a few minutes to harden it back up.
Cold water
Your water should be ice cold as well. I like to let it sit with a few ice cubes in it before I add it to the dough.
Making pie dough by hand
Many people swear by their food processor for pie dough, but I feel that mixing by hand is the way to go, especially if you’re a beginner with pie dough.
Making pie dough by hand saves you having to clean the food processor, AND it’s much harder to over-process pie dough when you do it by hand. Over-processed dough is tough and chewy when baked.
Tools you can use
Pastry blender
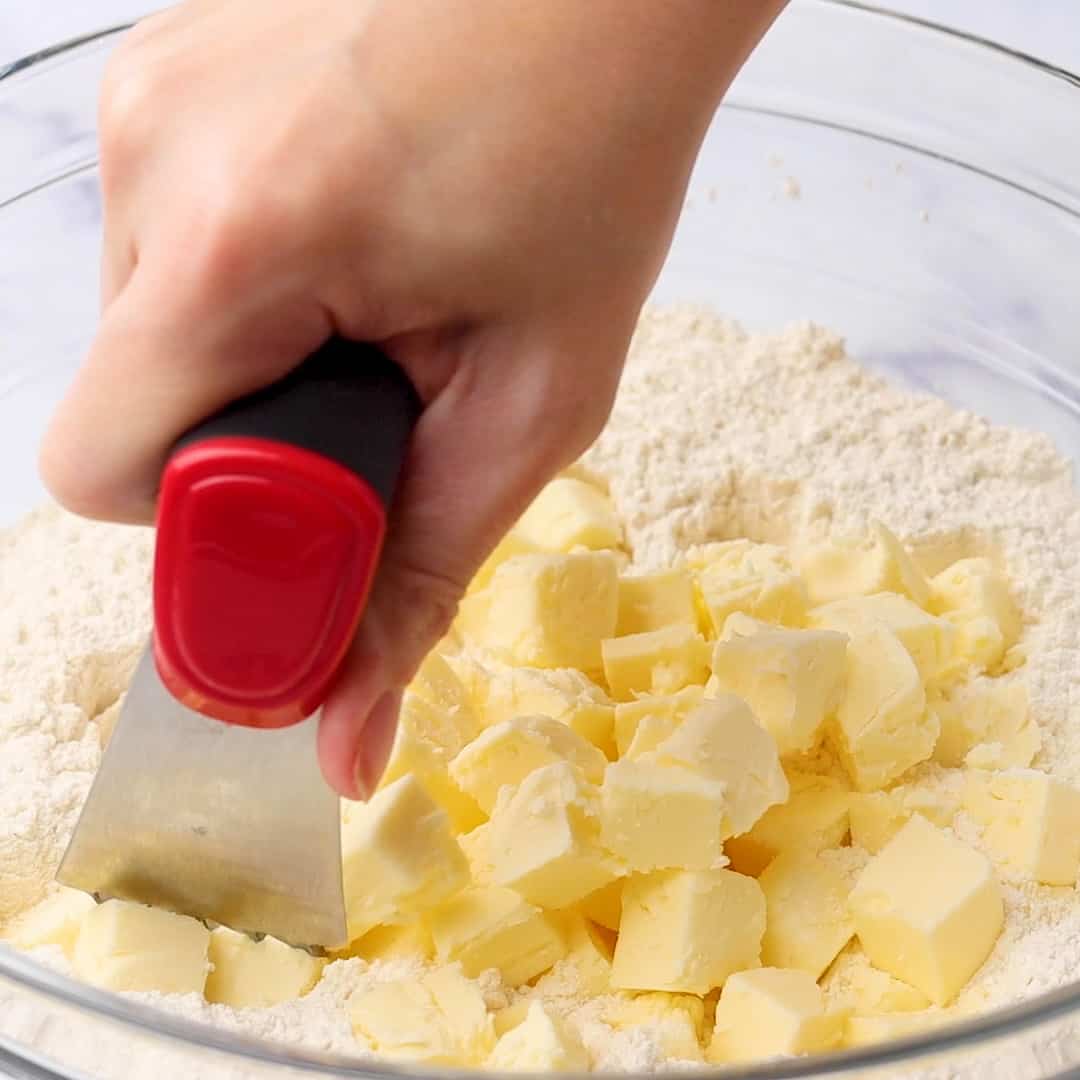
I use a pastry blender, which is a simple and inexpensive tool that is a great investment if you make pies often.
Two butter knives
If you don’t own a pastry blender, you can also cut your butter in with two butter knives. This is somewhat more tedious and you may need to finish the job with your fingers by getting your hands in there and breaking up some of the larger butter chunks by squeezing them between your fingers.
Your fingers
If you work very quickly before the butter gets too soft, you can even do the whole job with your fingers. Start by tossing your butter cubes into the flour to coat them well, and then squish and flatten the cubes between your fingers.
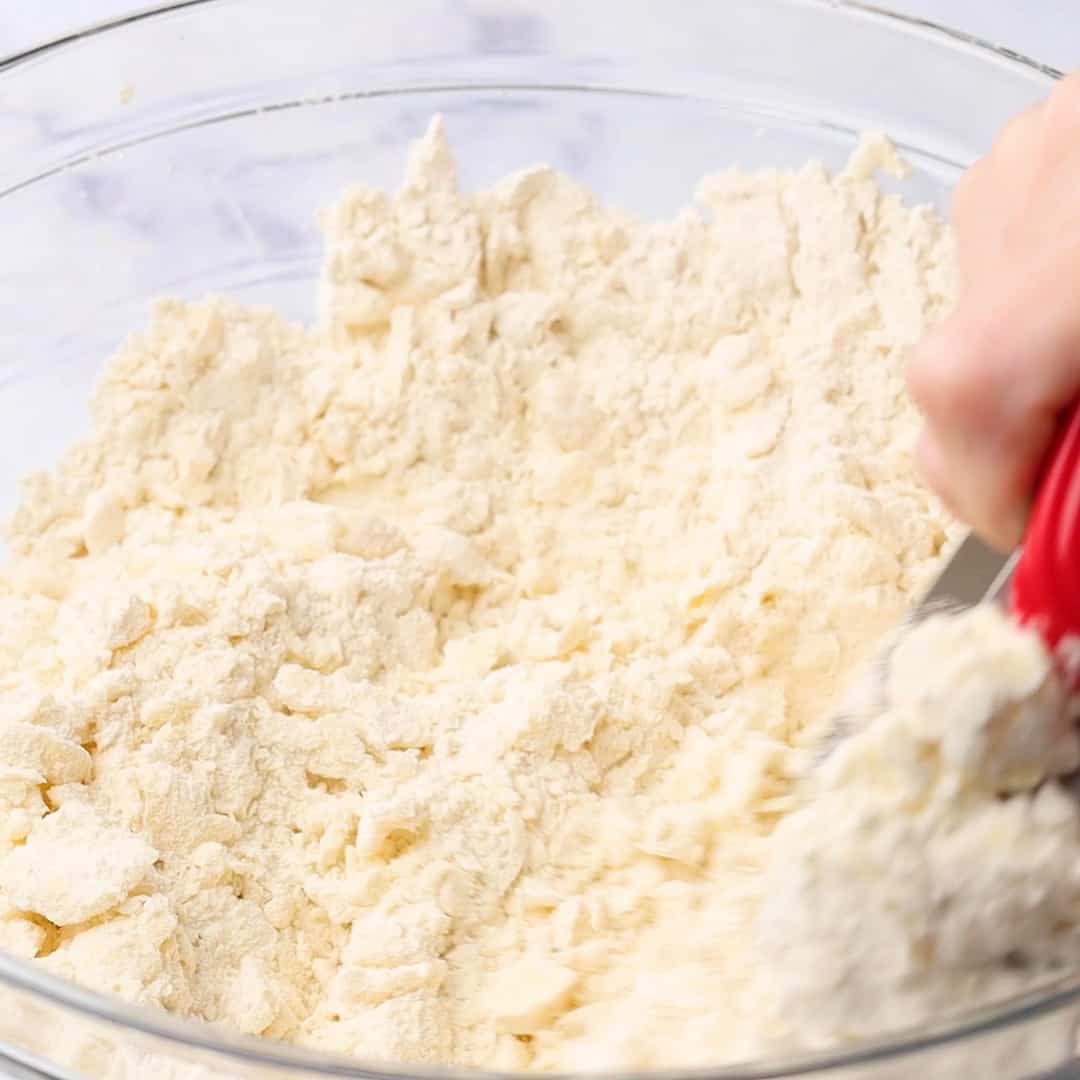
Pea-size butter pieces
Your goal here is not to pulverize the butter or achieve a “sandy” texture. You want small pea-size pieces. You will probably have some visible butter pieces when you roll it out and that is exactly what we want. This creates pockets of butter in the dough that steam and puff up when baking and create flaky layers.
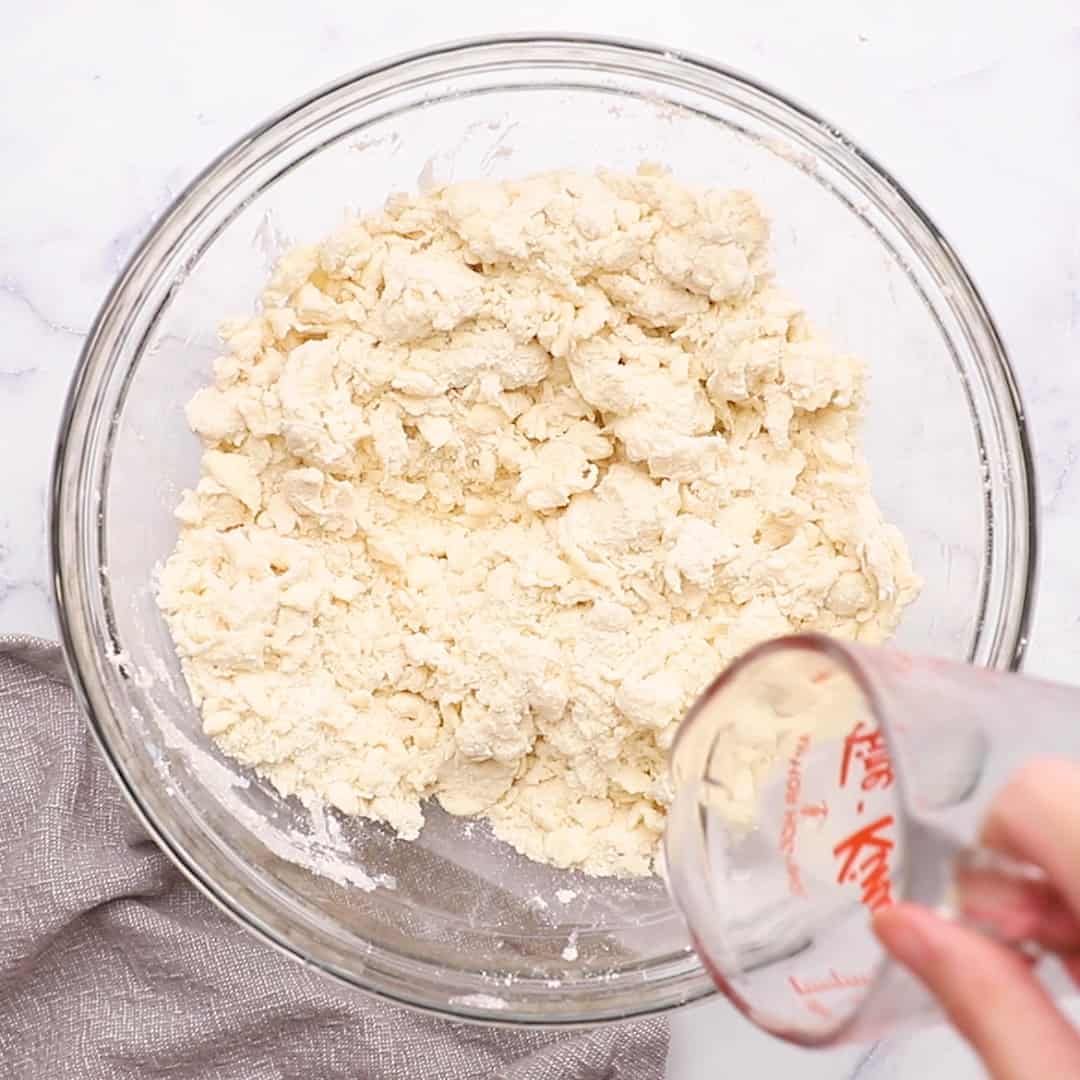
Don’t add too much water
The interaction of water and flour is what forms gluten, and with pie dough you want to minimize the gluten formed. You want to add just enough water for your dough to come together and not be dry and cracked when you roll it out.
Want to SAVE this recipe?
Adding too much water will make your dough stretchy (this is what happens when gluten is formed), which will lead to a tough crust when baked. If your dough stretches back when you roll it out, you have too much water in there.
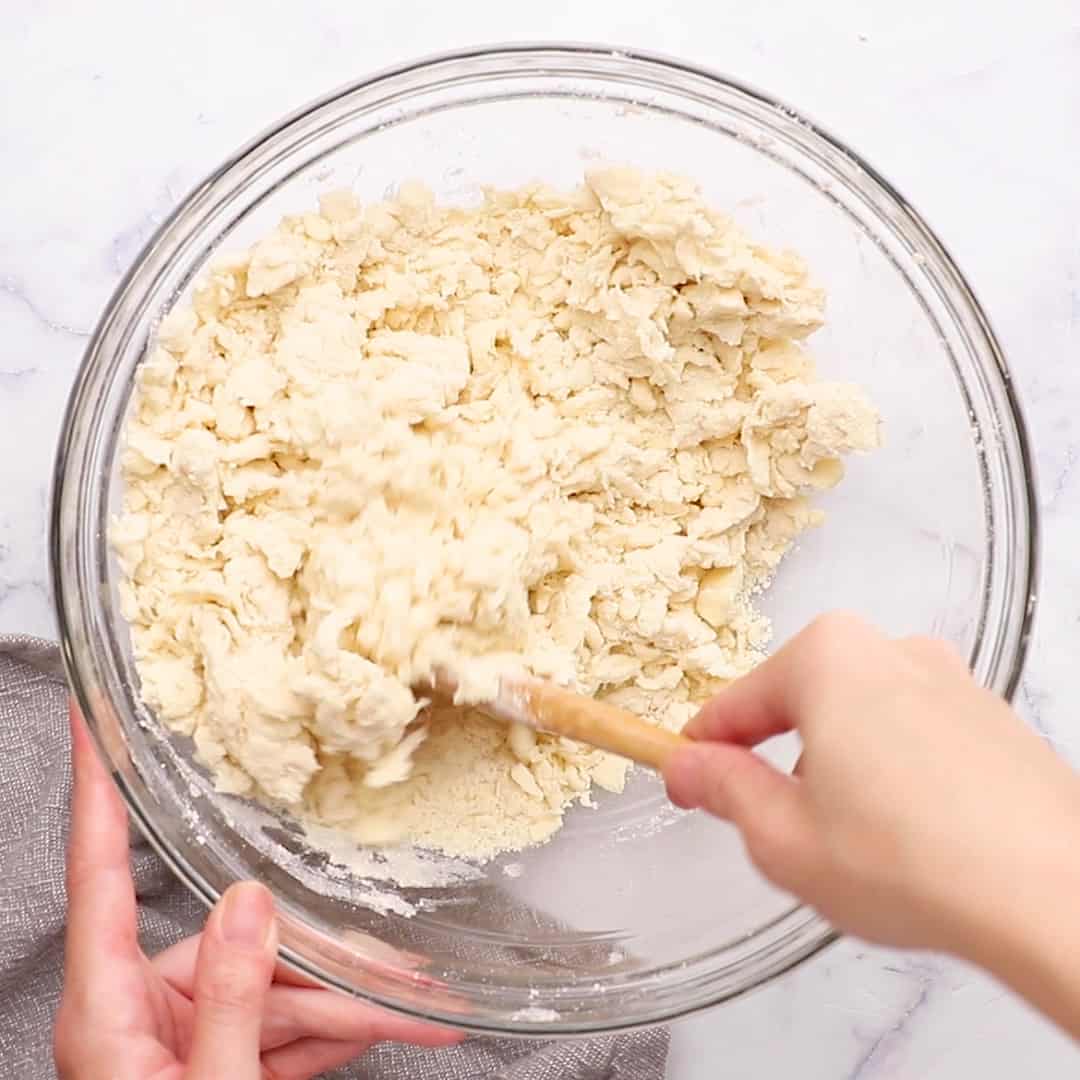
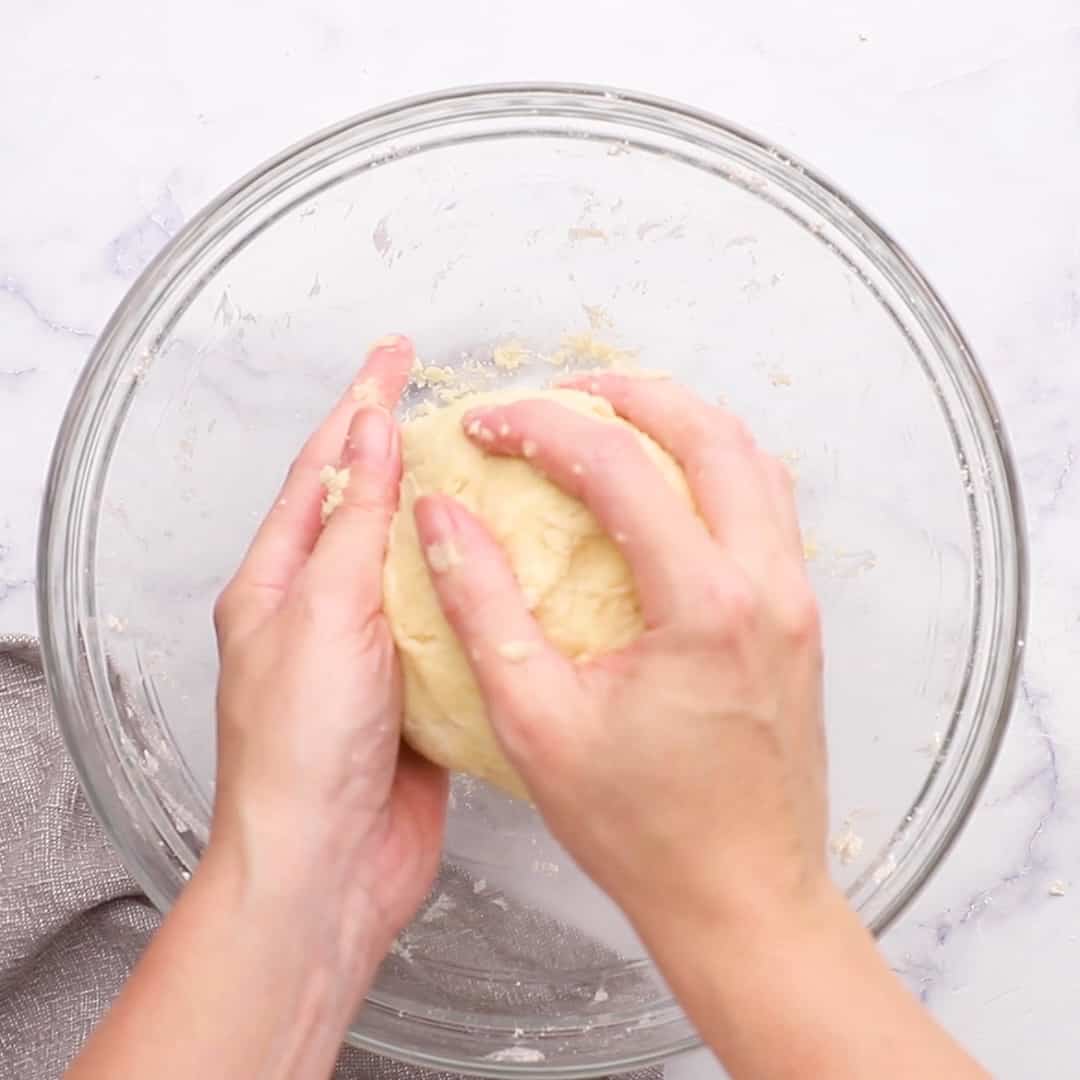
Add water gradually and stir after every addition of a tablespoon or so to see if the dough is starting to clump. Once you can form a ball that doesn’t fall apart easily, you’re good to go. You may not need the full amount of water!
Don’t overwork your dough
There is absolutely no need to knead your pie dough. In fact doing so will almost guarantee a tough, chewy crust.
Handle the dough just enough for it to come together into a rough ball.
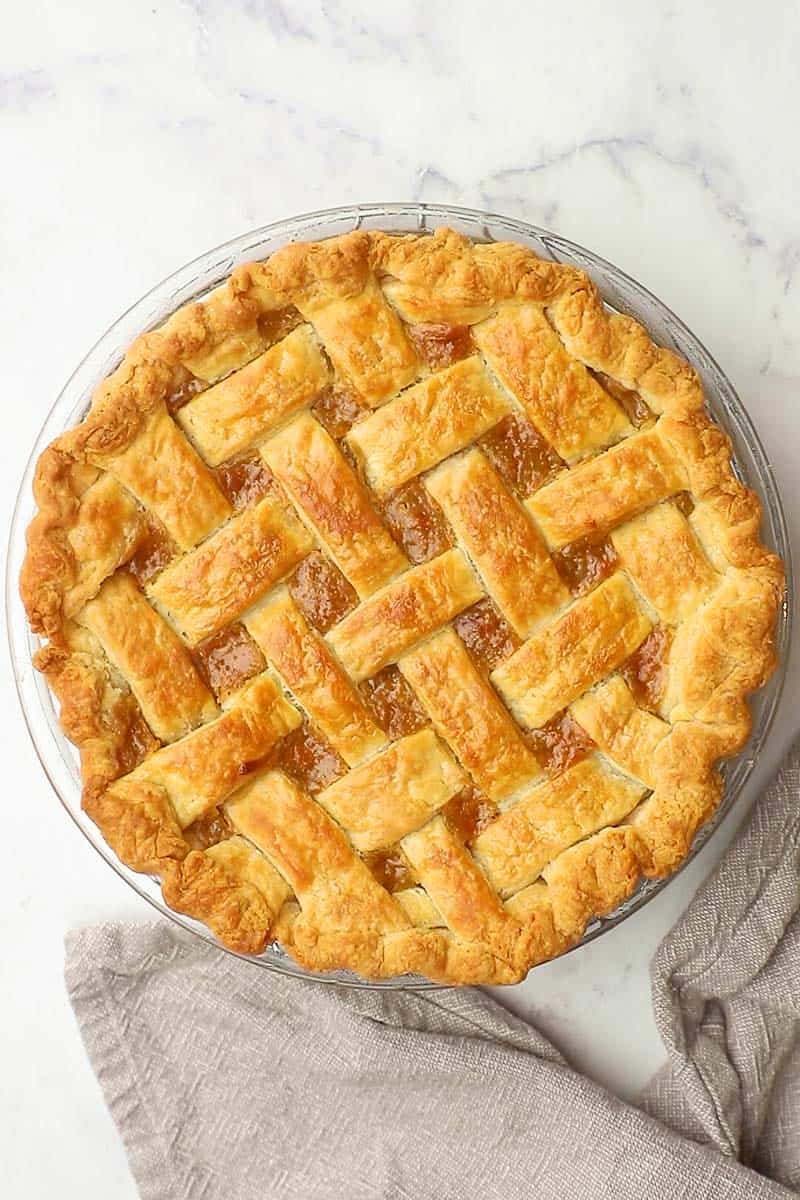
Chill before and after rolling out
It’s essential to chill your dough before using it, for at least 1 hour and up to 24. This hardens the butter back up, which keeps it from melting too quickly as the crust bakes, and shrinking the dough.
If you ever find that your pie dough shrinks and doesn’t hold its shape, you probably did not chill it for long enough before rolling out. This is particularly critical when par-baking your butter pie crust. Even if you’re using pie weights, there will not be enough “filling” to help the crust keep its structure if it isn’t properly chilled first.
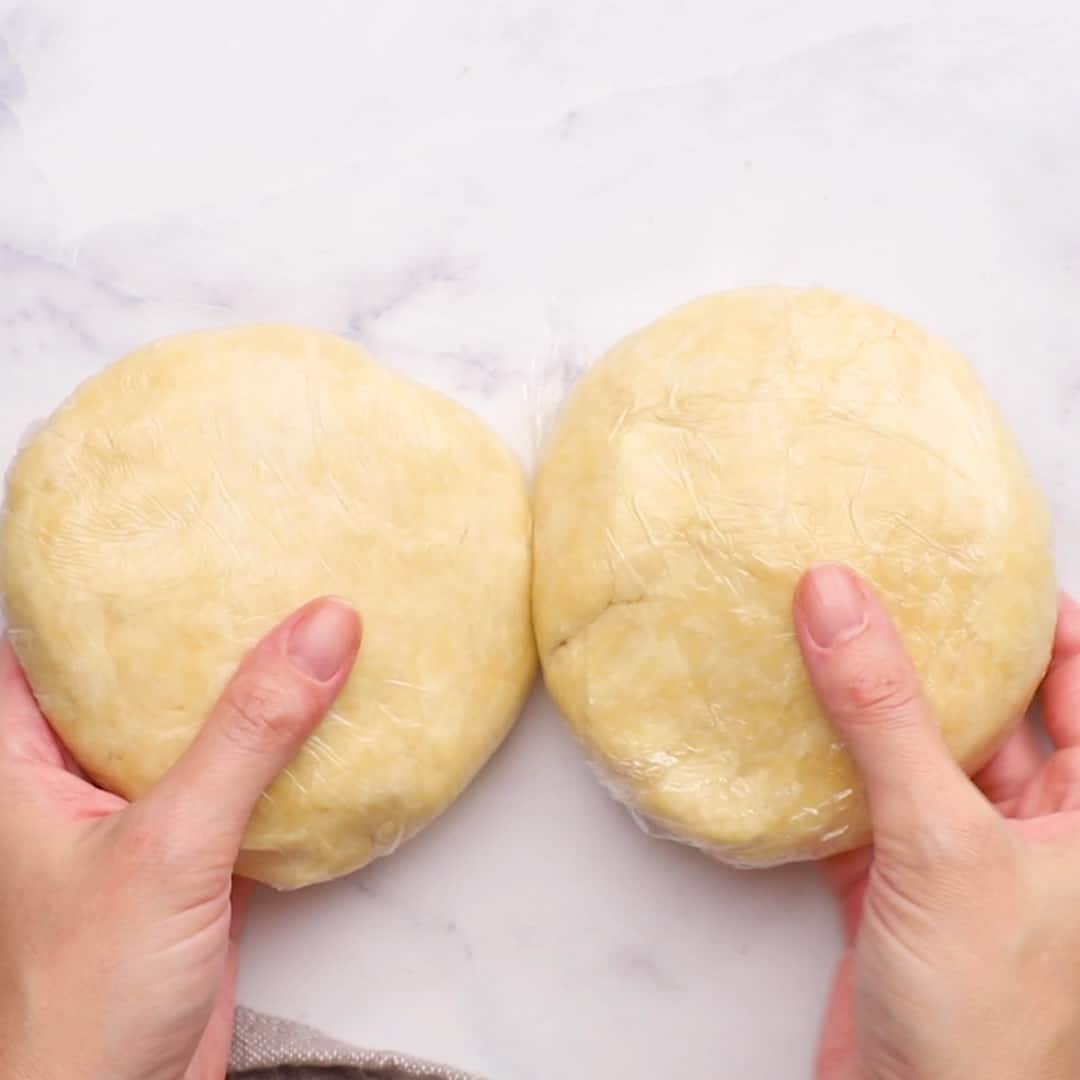
Some people like to roll the dough out before chilling, but I prefer to wrap the dough in plastic wrap and then use my hands to form it into a flat disk.
I also like to smooth out any cracks around the edges with my hands, this will minimize the cracking and craggy edges as you roll it out. Chill your dough for at least one hour and up to 24.
It is also a best practice to chill the dough again for 10-15 minutes after rolling it out and fitting it into the pie plate.
Now, let’s move on to the step-by-step instructions!
Step-by-Step Instructions
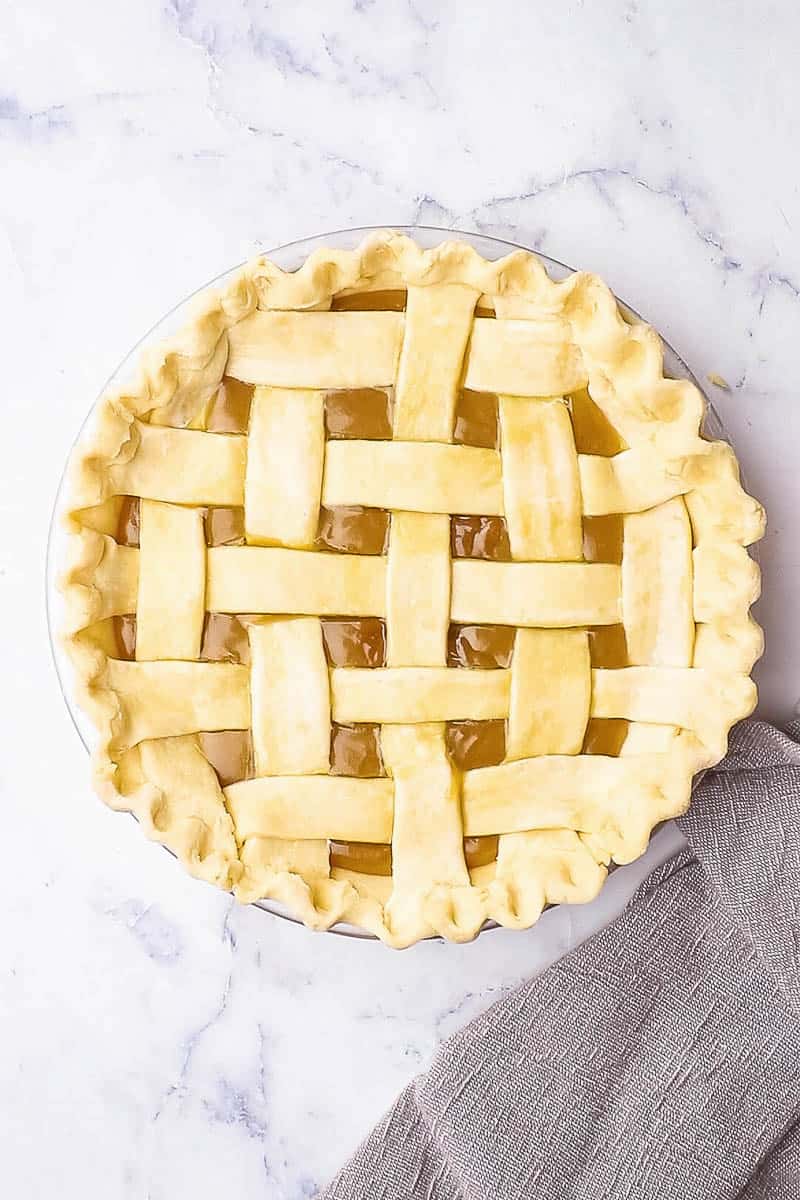
- Whisk together the flour and salt in a large bowl.
2. Cut the cold butter into the flour mixture with a pastry blender, two butter knives, or your fingers until the mixture is crumbly and in pea size pieces.
3. Add the water a few tablespoons at a time, mixing with a wooden spoon until the dough just starts to come together and can be shaped into a ball. Don’t add more water than necessary.
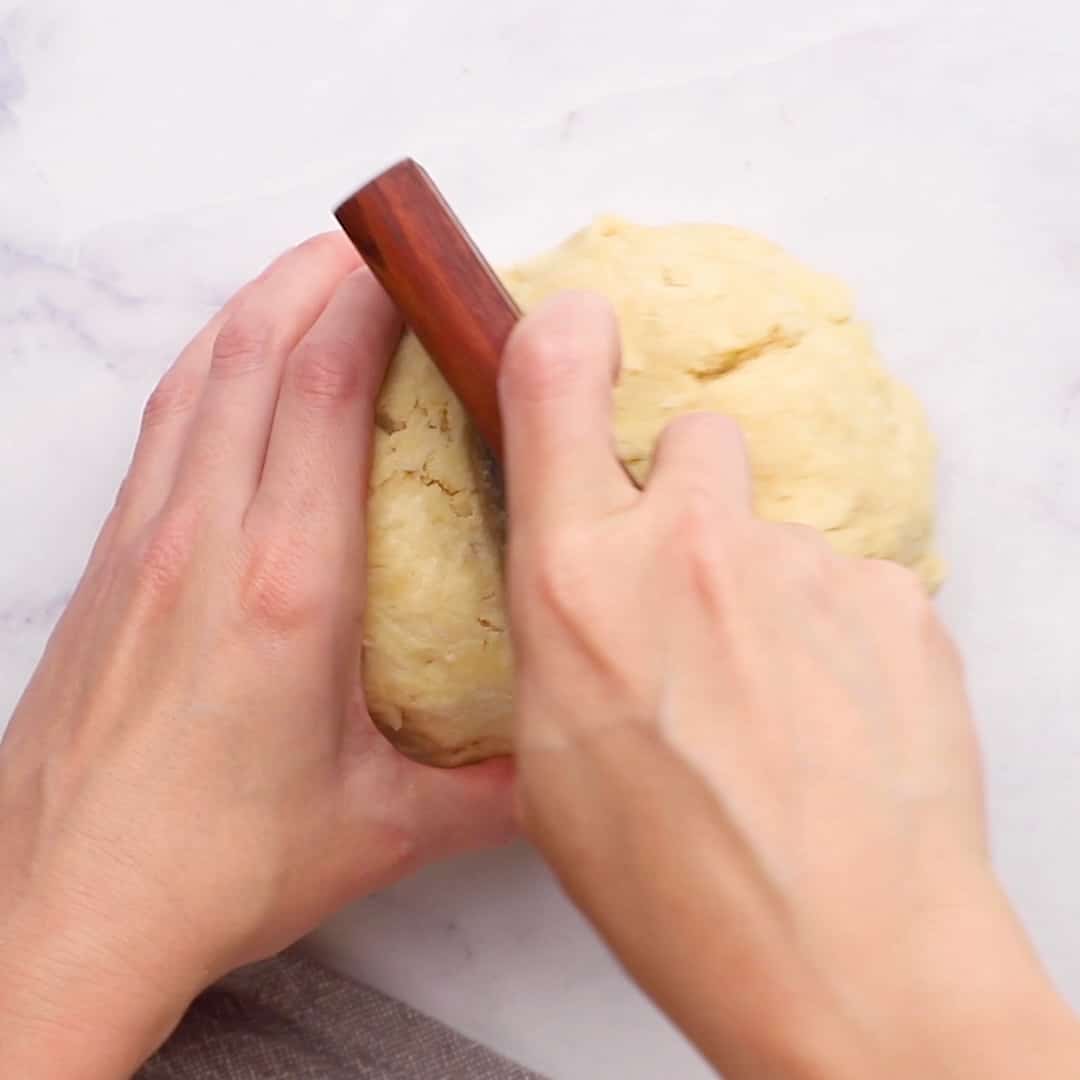
4. Divide the dough into two equal parts, wrap them in plastic wrap, and shape them into smooth disks.
5. Now chill it in the fridge for an hour. Your pie crust is ready to use.

Storing Pie Dough
Both the fridge and the freezer are great places to store pie dough. But first, it needs to be well wrapped! I put it away in plastic wrap. Wrap the pie crust as tightly as you can, and then use a rolling pin to flatten the pastry so it fills any empty spaces and makes a seal with the plastic wrap that keeps air out.
You can keep it in the fridge for three to four days or in the freezer for up to six months. For freezing purposes, I like to double-wrap it, and them place in a ziplock bag so it doesn’t dry out. Thaw overnight in the refrigerator when ready to use.

Easy Pie Crust by Hand
Ingredients
- 2.5 cups all-purpose flour
- 1 teaspoon kosher salt
- 1 cup unsalted butter very cold, cubed
- 1/2 cup ice water
Instructions
- In a large bowl, whisk together the flour and salt.
- Using a pastry blender, two butter knives, or your fingers, cut the cold butter into the flour mixture until crumbly, with pea size pieces.
- Gradually add the water a couple of tablespoons at a time, mixing with a wooden spoon after each addition, until the dough just starts to come together and can be formed into a ball. Do not add too much water.
- Divide the dough into two equal portions, wrap them in plastic wrap, and form into smooth disks. Smooth the sides to avoid cracking while rolling.
- Chill the dough at least one hour. Use as directed in your recipe.


Is this enough dough to make two pies. I’m making banana cream pies
Yes, it’s enough to make two single pie crusts, like for two banana cream pies 🙂
Excellent! I’ve been using this pie dough for a few months now for both traditional pies and hand pies. I am absolutely delighted with it. It’s easy, quick and absolutely delicious with a beautifully flaky texture! It’s perfect, period. Thank you for sharing this recipe with all of us!! 🙂
Yay!! So happy to hear that, I think everyone should have a got-to pie crust they love 🙂
Just made it.