Dark Chocolate Tart Recipe
This post contains links to affiliate websites, such as Amazon, and we receive an affiliate commission for any purchases made by you using these links. We appreciate your support!

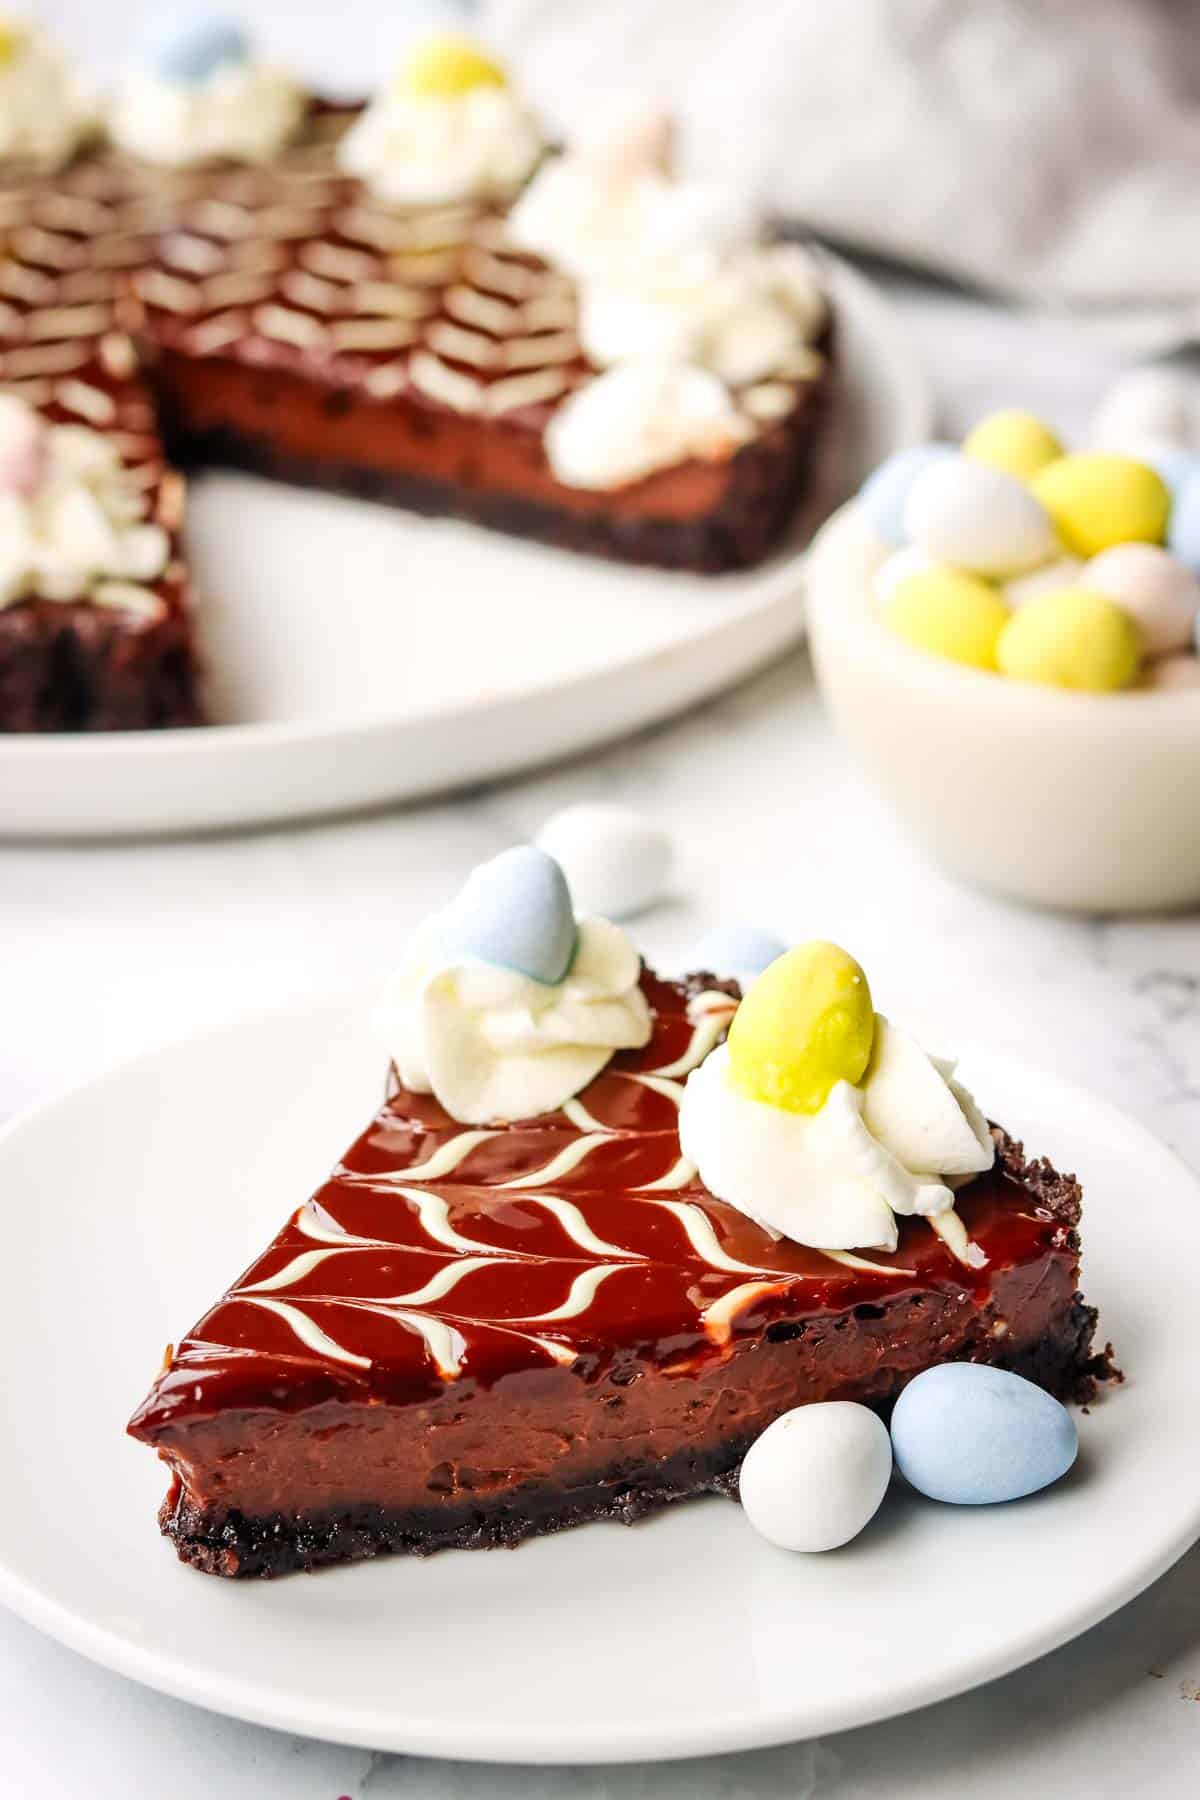
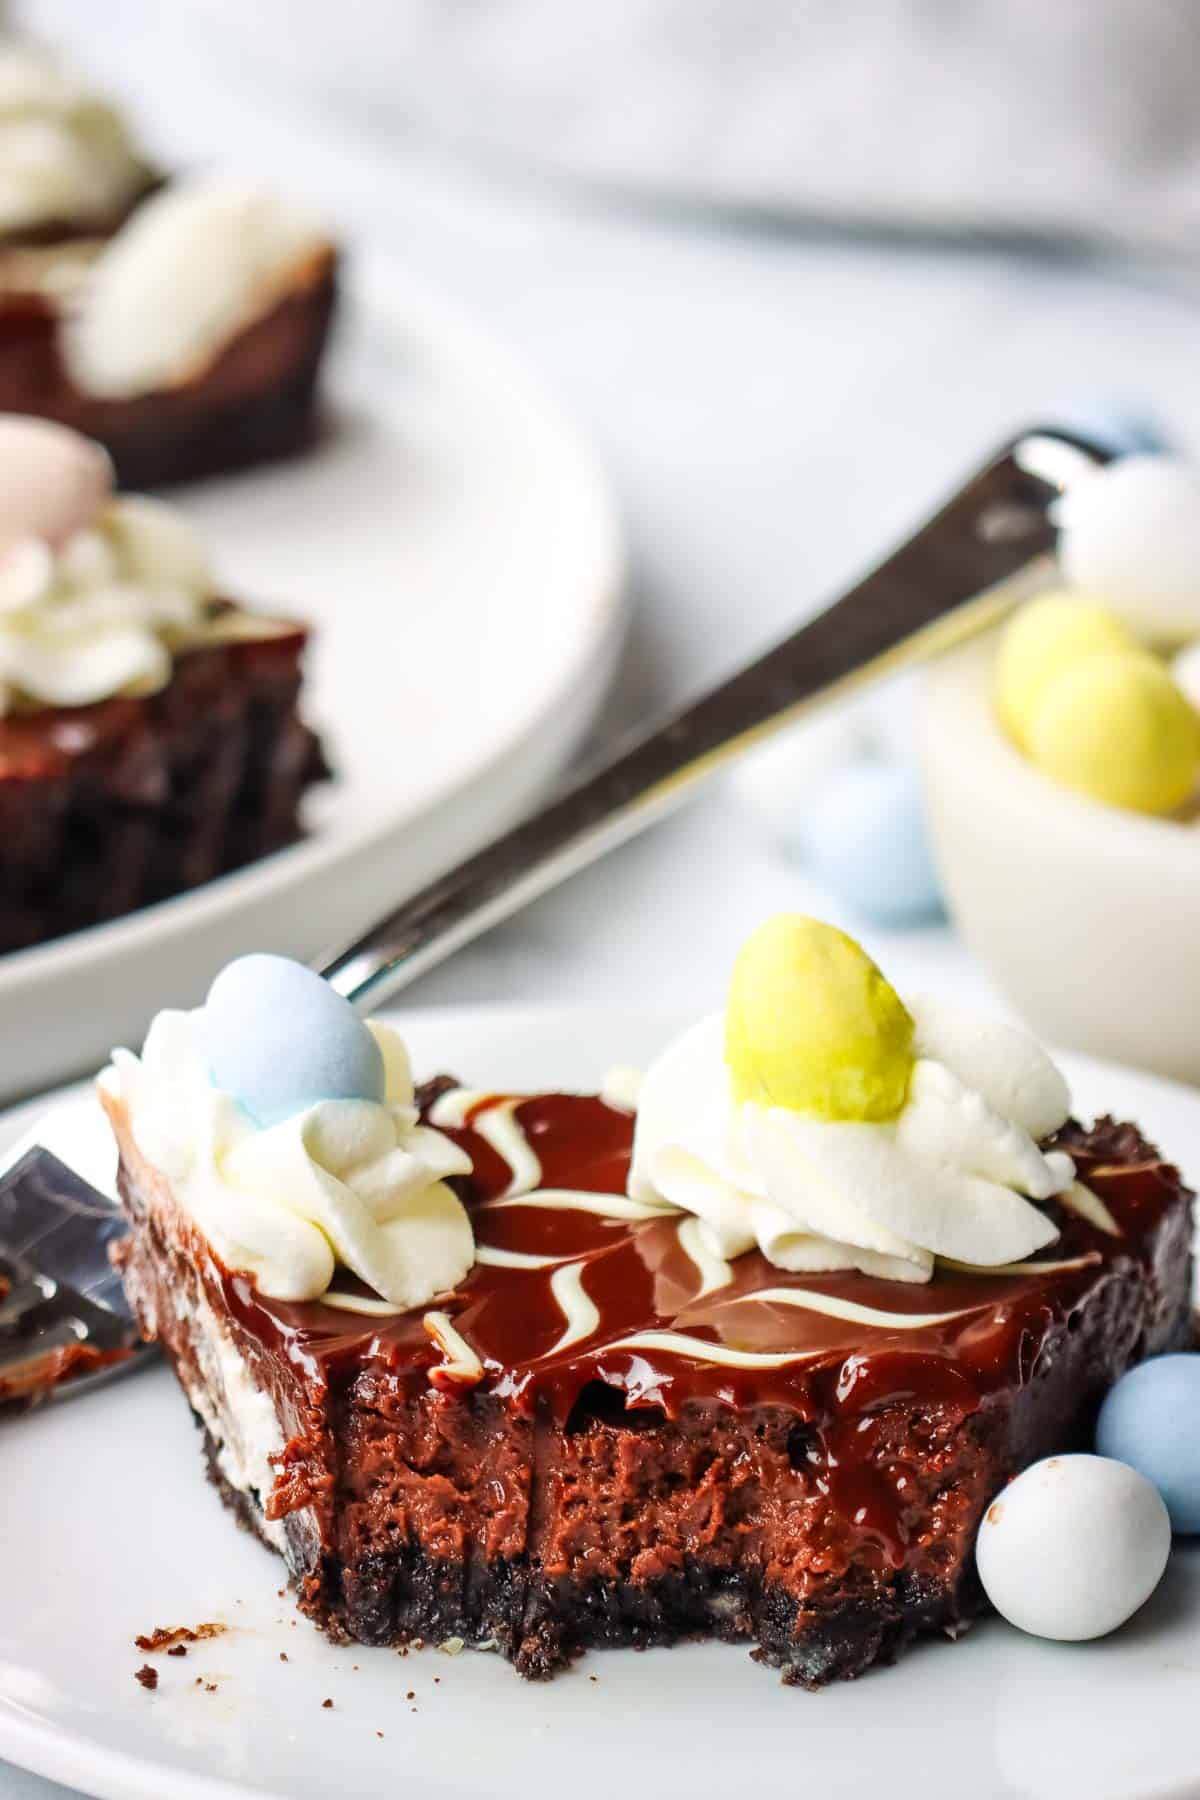
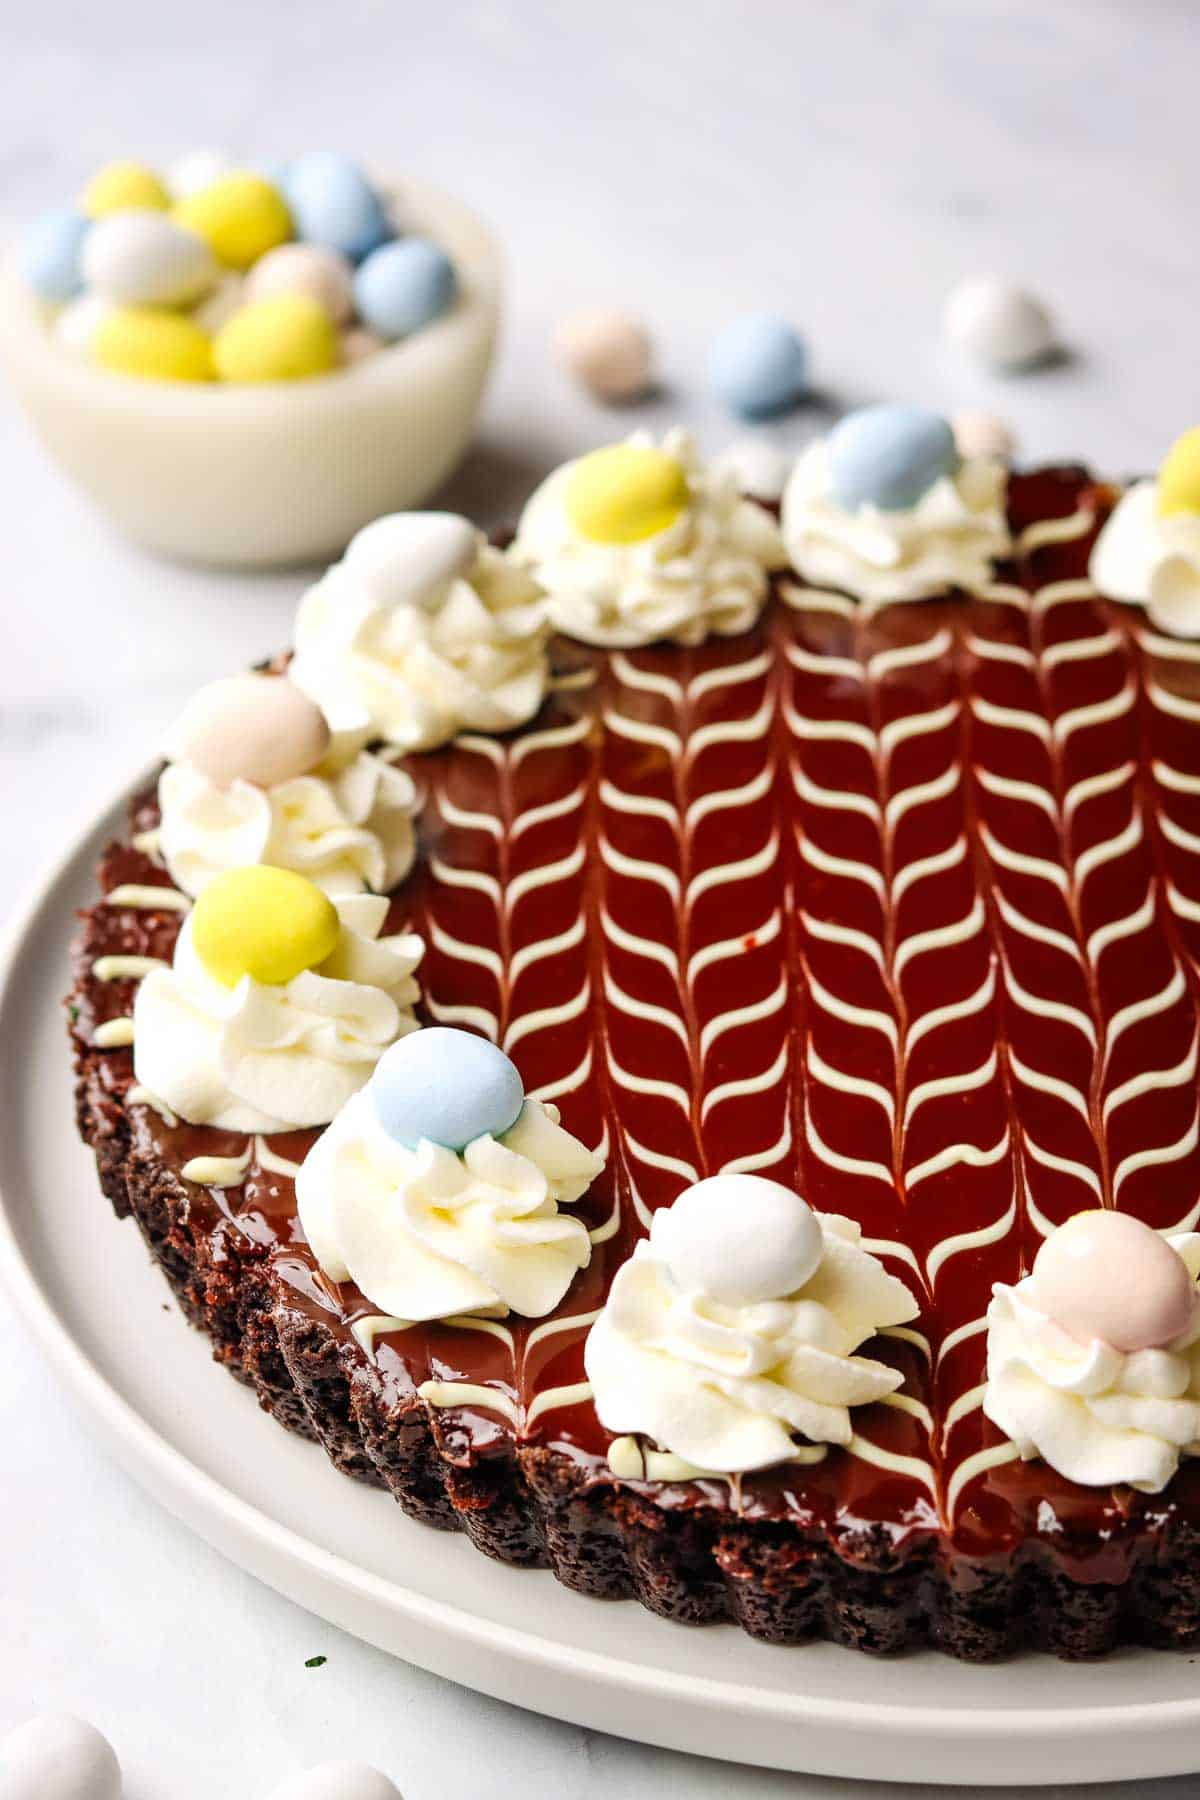
This chocolate tart recipe has a buttery chocolate crust and a dark and dreamy, silky chocolate filling. It’s a festive and decadent dessert that is surprisingly easy to make and decorate!
Every year, I’m given the same task of contributing dessert to our Easter family gathering.
So, this year, before Easter comes around, I’ve been making and tweaking my favorite chocolate dessert recipes because we have quite a lot of chocolate lovers in the family! Last month I gave my chocolate bark and chocolate cherry cake an update – and this month, I’m going with the ultimate Easter chocolate dessert in my opinion: a decadent chocolate tart.
Sometimes it takes more than one try to get a recipe just right, and this one’s a prime example! I love the way this chocolate tart recipe turned out in the end, but honestly, it took some work when I first started testing it.
The first version I tried had an unsweetened chocolate filling that I frankly found a bit bitter. I love the flavor of pure dark chocolate in small doses, like in these dark chocolate caramel truffles, or just a square of chocolate. In a chocolate tart though, it was just too much and too intense.
This creamy filling is similar to a dark chocolate ganache filling, but with a lighter texture, due to the eggs.

So I played around with the chocolate filling, added a bit of sugar, and the result was exactly what I was going for! A buttery chocolate crumb crust with a rich and silky, slightly sweet chocolate filling.
And while I am making this for Easter – this chocolate tart recipe is a crowd pleaser year-around. So, next time you’re looking for a chocolate dessert idea for a special occasion or a dinner party – make this chocolate tart – you won’t regret it!
Ingredient Notes
For the Cookie Crust
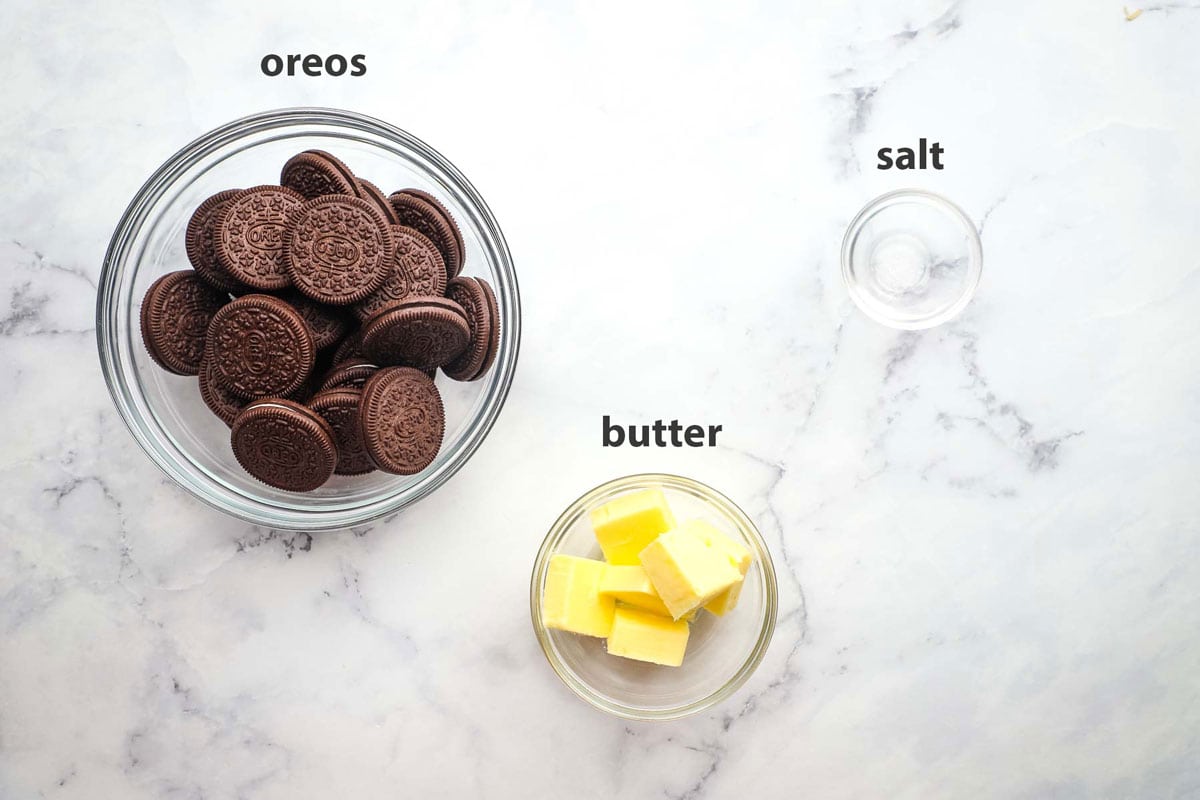
Chocolate cookies
I like to use Oreo cookies for this tart crust. It’s perfectly sweet in combination with the bittersweet chocolate flavor of the filling, and it’s quick to make.
You can use any chocolate cookies of your liking here to make the tart crust. Chocolate graham crackers would also work well.
Unsalted butter
The melted butter will add moisture to your tart crust and help keep it in shape. You can use salted butter and skip the added salt instead.
For the Dark Chocolate Filling & Glaze
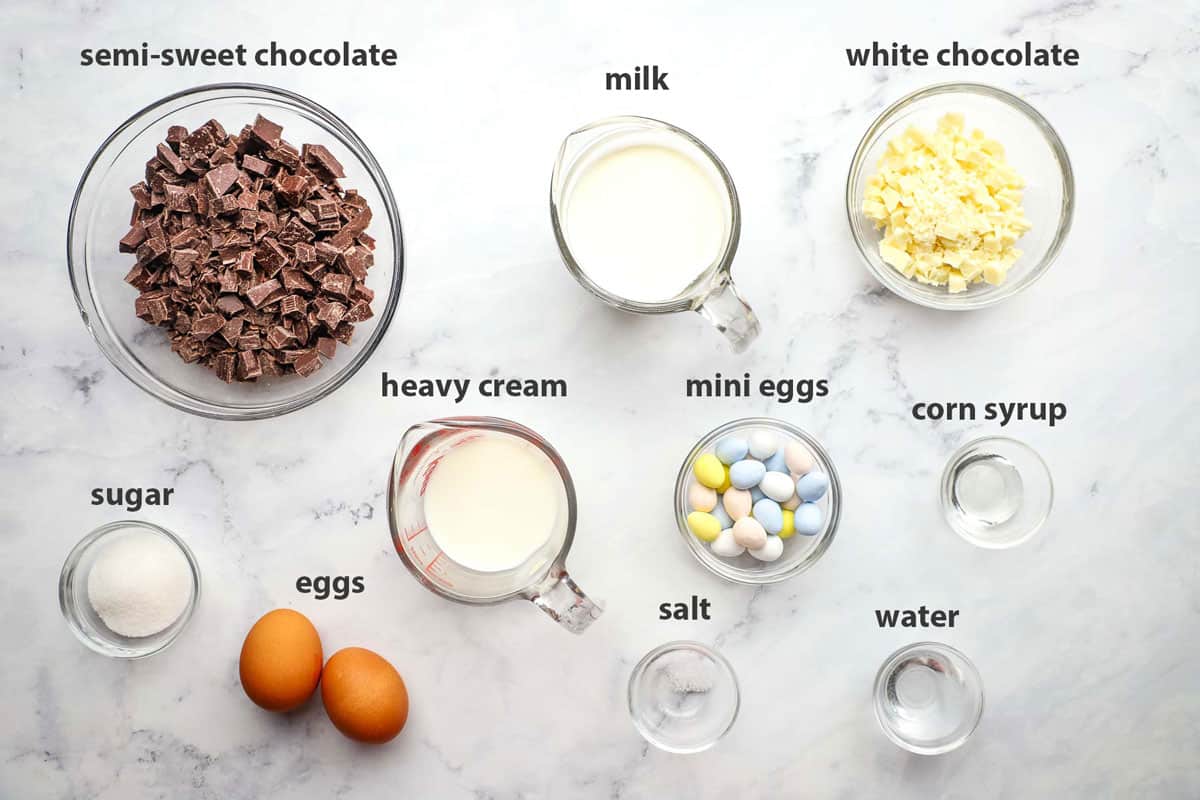
Heavy cream
This rich chocolate filling starts with heavy cream. You can substitute with half-and-half if you prefer.
Milk
Milk is added along with the heavy cream to lighten things up a little. You can use any type of milk for this!
Dark chocolate
This is a dark chocolate tart – so use good quality dark chocolate for the chocolate filling. I like to bulk buy chocolate bars and then chop them up for my chocolate dessert recipes, but you can also use dark chocolate chips.
Semi-sweet or bittersweet chocolate work best here, I find. I like anywhere between 50 and 70% cocoa solids.
I would not recommend using milk chocolate as it will yield an overly sweet filling that would not complement the cookie crumb and and the glaze on top.
Granulated Sugar
I have tried making this chocolate tart without sugar in the filling but I prefer adding a little sugar for a perfectly balanced bittersweet chocolate flavor.
Eggs
The eggs provide structure to the chocolate filling and help it bake up and slice perfectly. Make sure you are using room temperature eggs as they will incorporate much better into the mixture.
For an egg-free version, a small amount of cornstarch dissolved in milk can be used as a thickener, though this will change the texture somewhat.
Corn Syrup
The corn syrup is used to add shine and smoothness to the glaze. Honey or golden syrup can be used as substitutes but will somewhat alter the flavor.
For Decorating
The chevron pattern on this tart is totally optional. You could definitely leave it plain, or garnish it with fresh berries, chocolate shavings or curls, or a sprinkle of flaky sea salt instead.
That said, it’s surprising easy to make this, or any other pattern! Check out the video in the recipe card to see how it’s done!
White Chocolate
To make the chevron pattern, all you need is a little white chocolate for the perfect color contrast.
whipped cream
If you’d like to add some whipped cream decoration to your tart, simply whip a little heavy whipping cream. You can add a little icing sugar and vanilla to sweeten and flavor it if you like.
Candy-Coated Mini Eggs
It can’t be an Easter dessert without some mini eggs! Any small candy or edible decoration can be used based on the occasion or preference.
Don’t forget to watch the video!
Most of my recipes include a short step-by-step video tutorial. Just scroll down to the recipe card, or use the “Jump to Video” button at the top of the post!
Step by Step Instructions
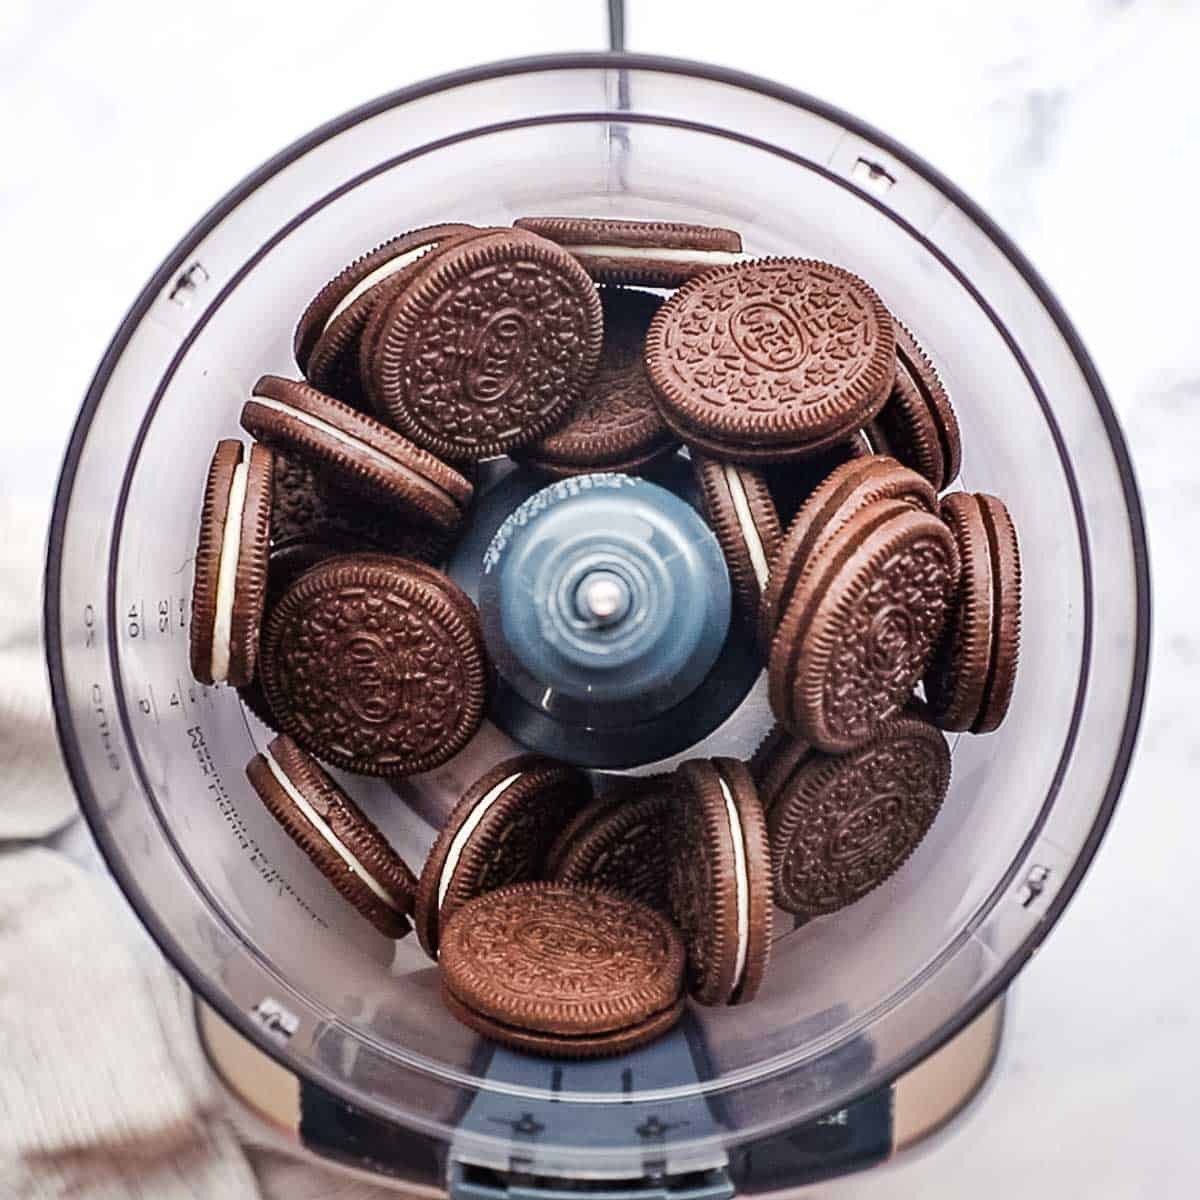
For the Chocolate Cookie Crust
- Heat your oven to 350 degrees F.
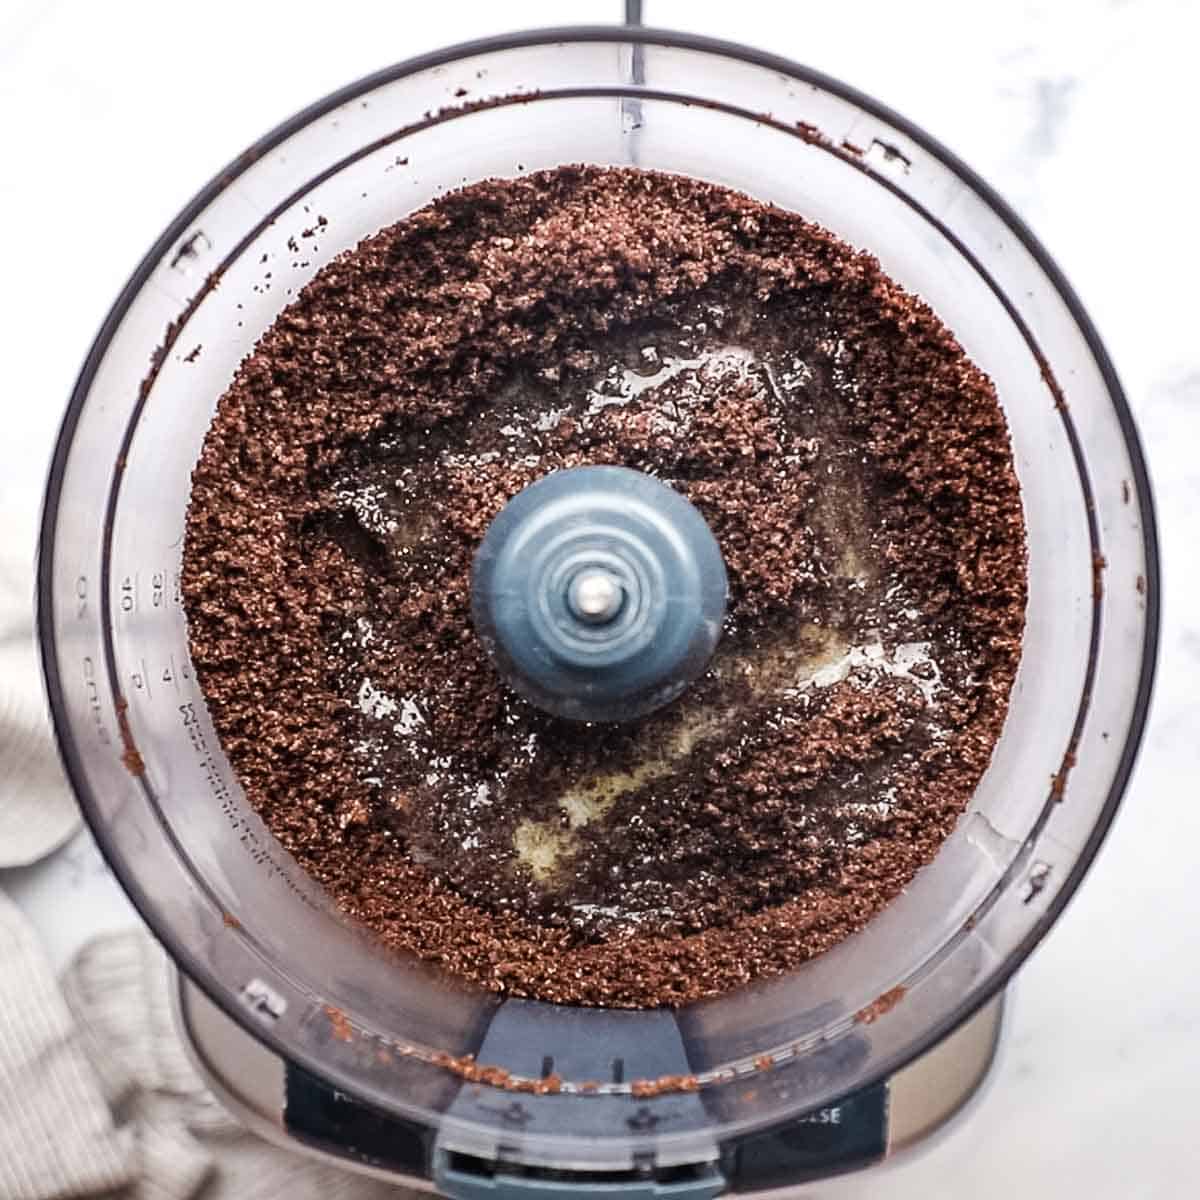
- Use a food processor to blend the oreo biscuits into fine crumbs (alternatively, place the cookies in a gallon-sized ziplock bag and crush them finely with a rolling pin).
- Mix in the melted butter and sugar until the crumbs are evenly moistened.
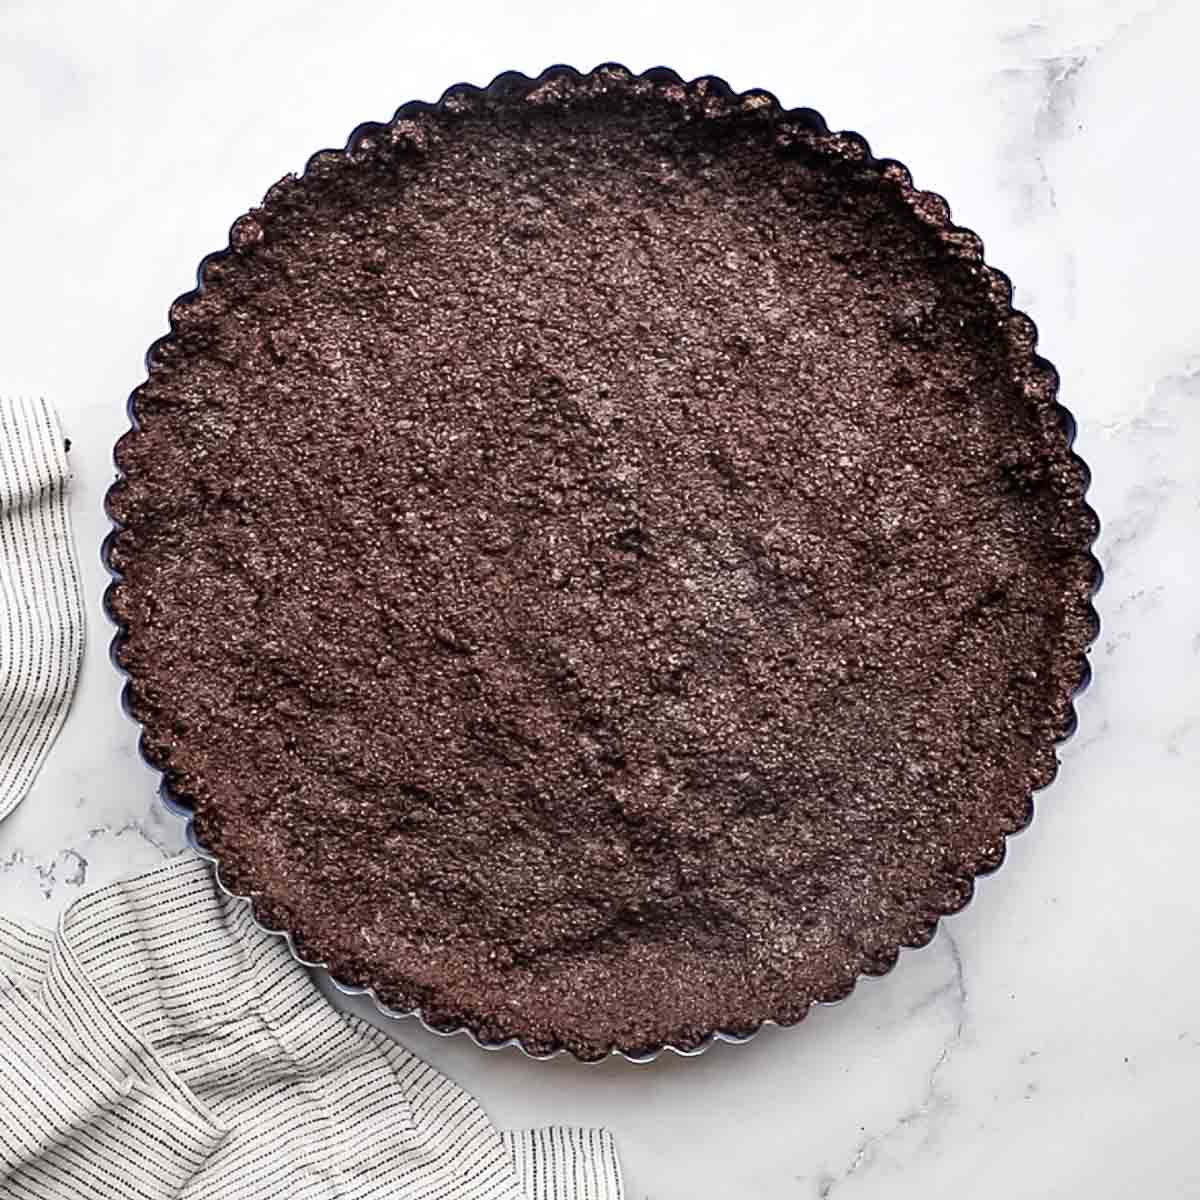
- Firmly press the mixture along the bottom and up the sides of a 9 or 10-inch tart pan with a removable bottom. Place the pan on a baking sheet and bake in the heated oven for 8-10 minutes.
Want to SAVE this recipe?
- After baking, remove it from the oven and set aside to cool as you prepare the chocolate filling.
For the Chocolate Filling
- Reduce oven temperature to 325 F.
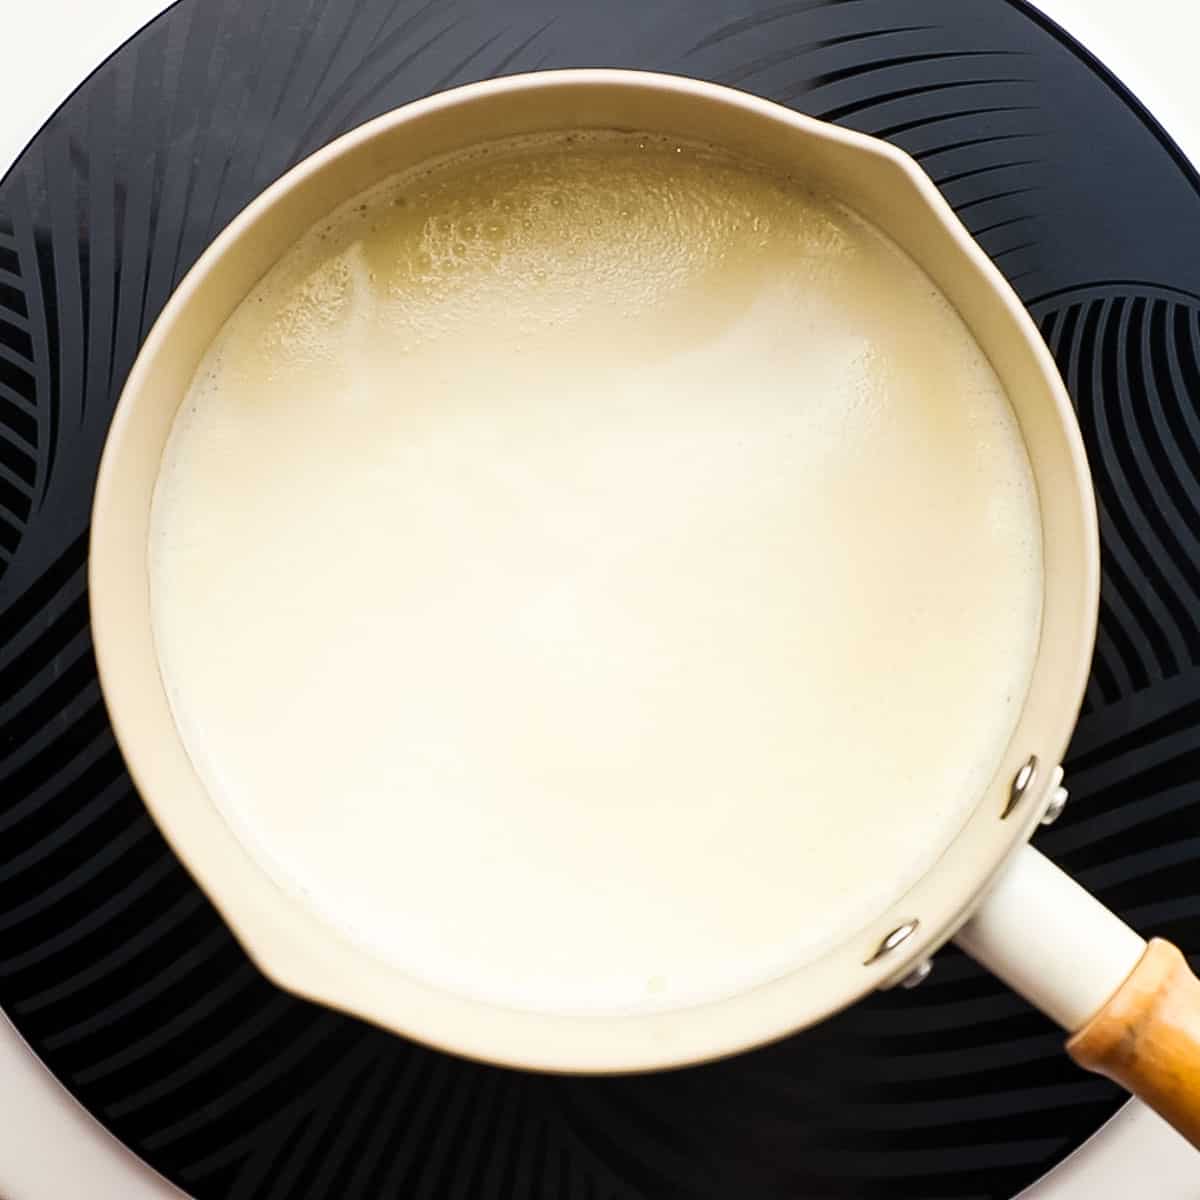
- Warm the milk and heavy cream in a small saucepan over medium heat until it just begins to simmer.
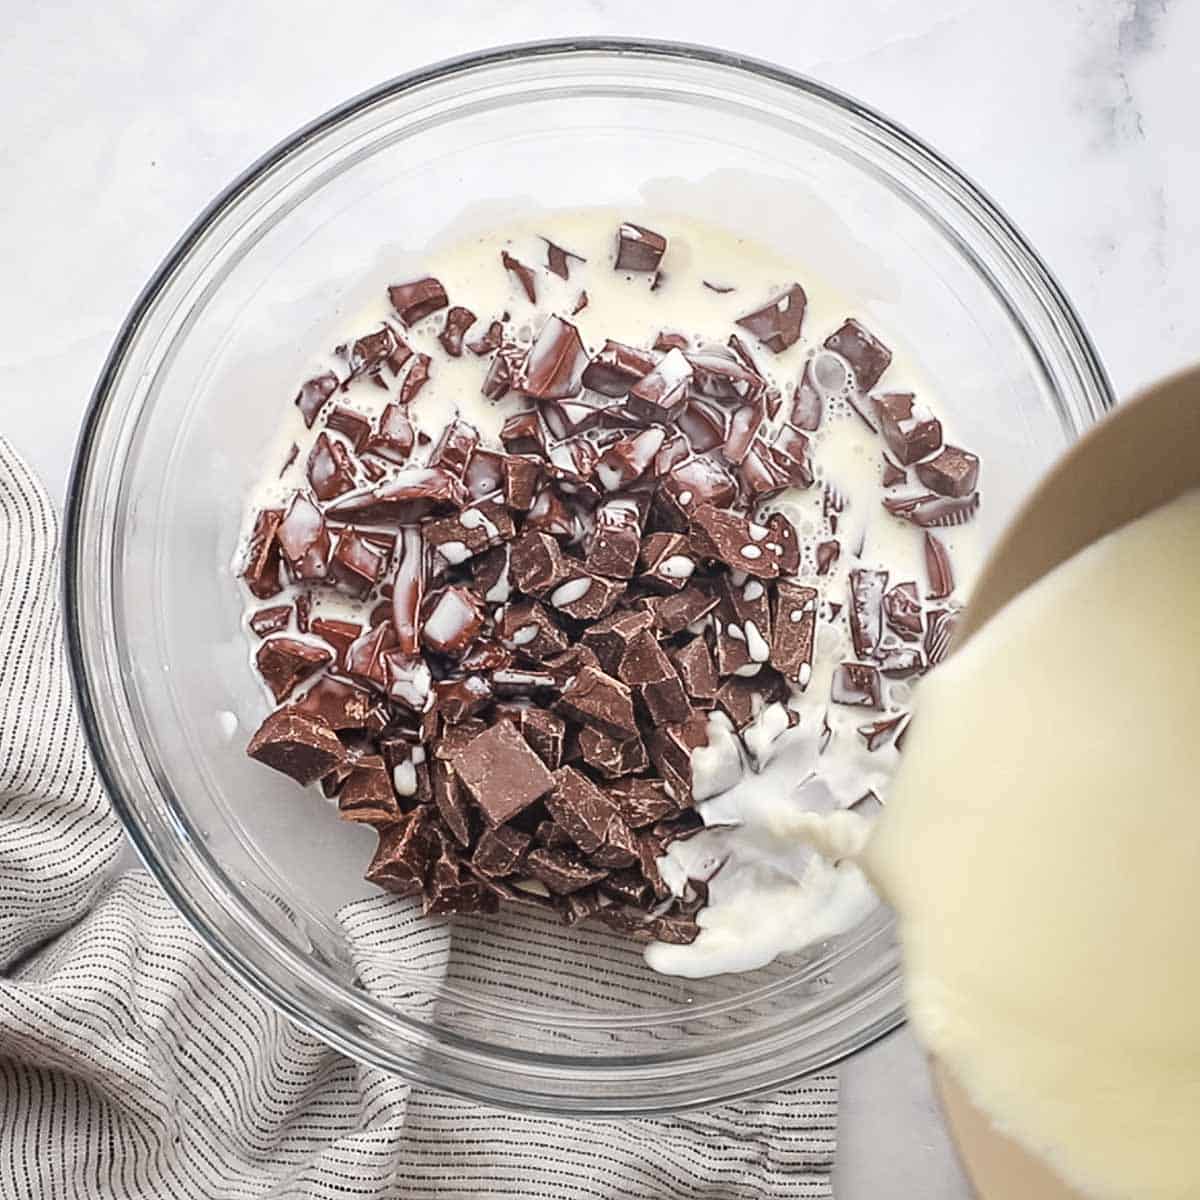
- Add the chopped chocolate into a medium bowl and pour the hot cream and milk over it. Stir until the mixture is smooth.
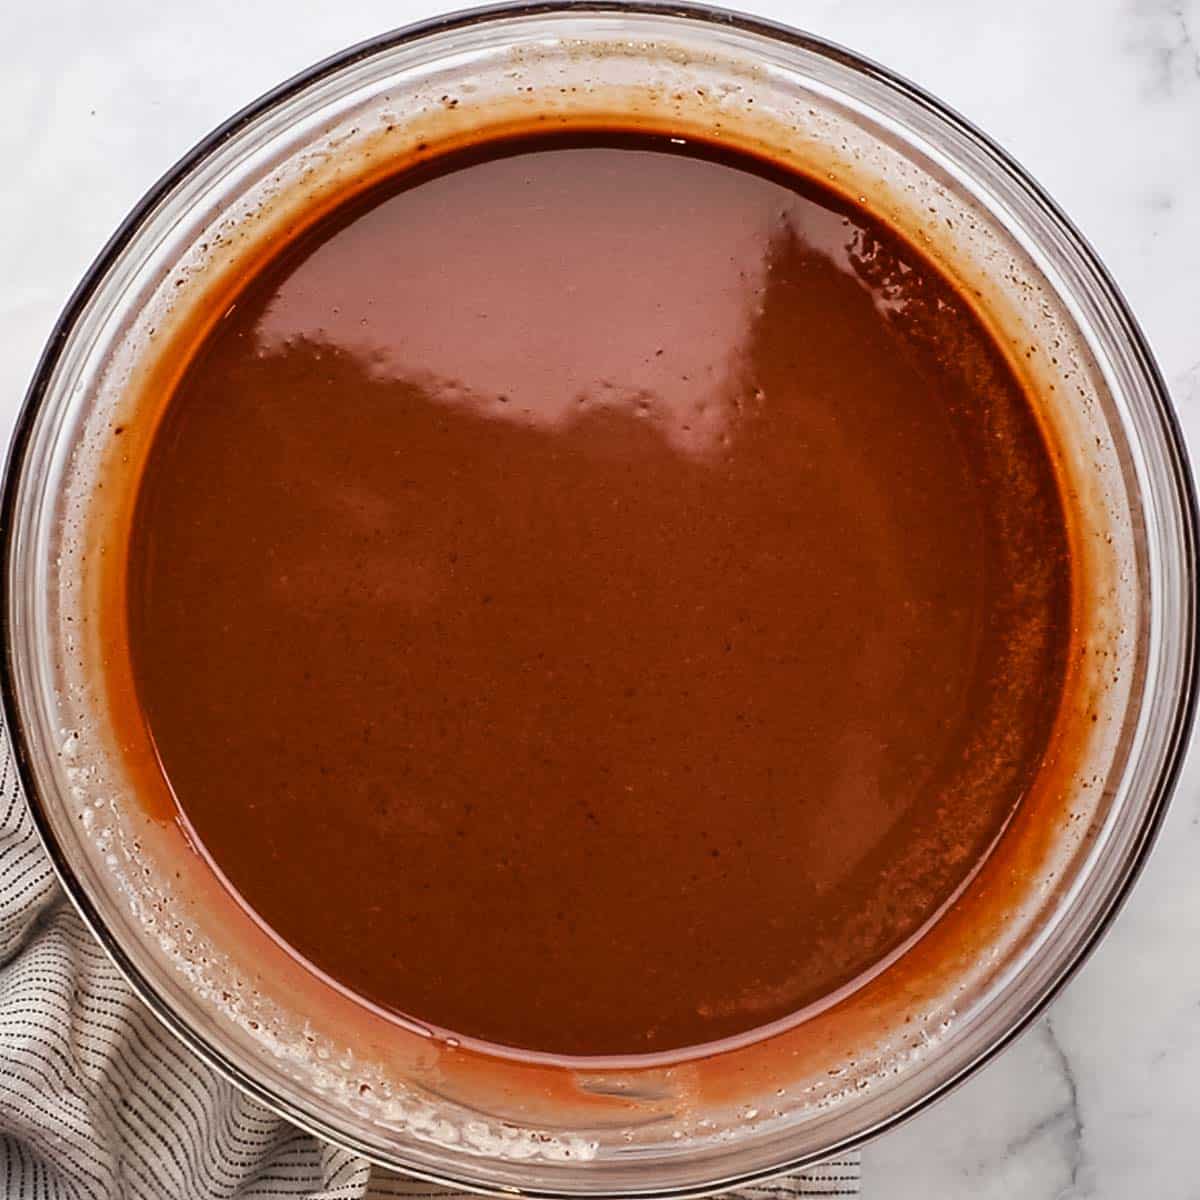
- Now add in the sugar and salt, and whisk to combine.

- Add in the eggs while whisking so it mixes well with the chocolate mixture. Try to avoid incorporating too much air into the mixture.

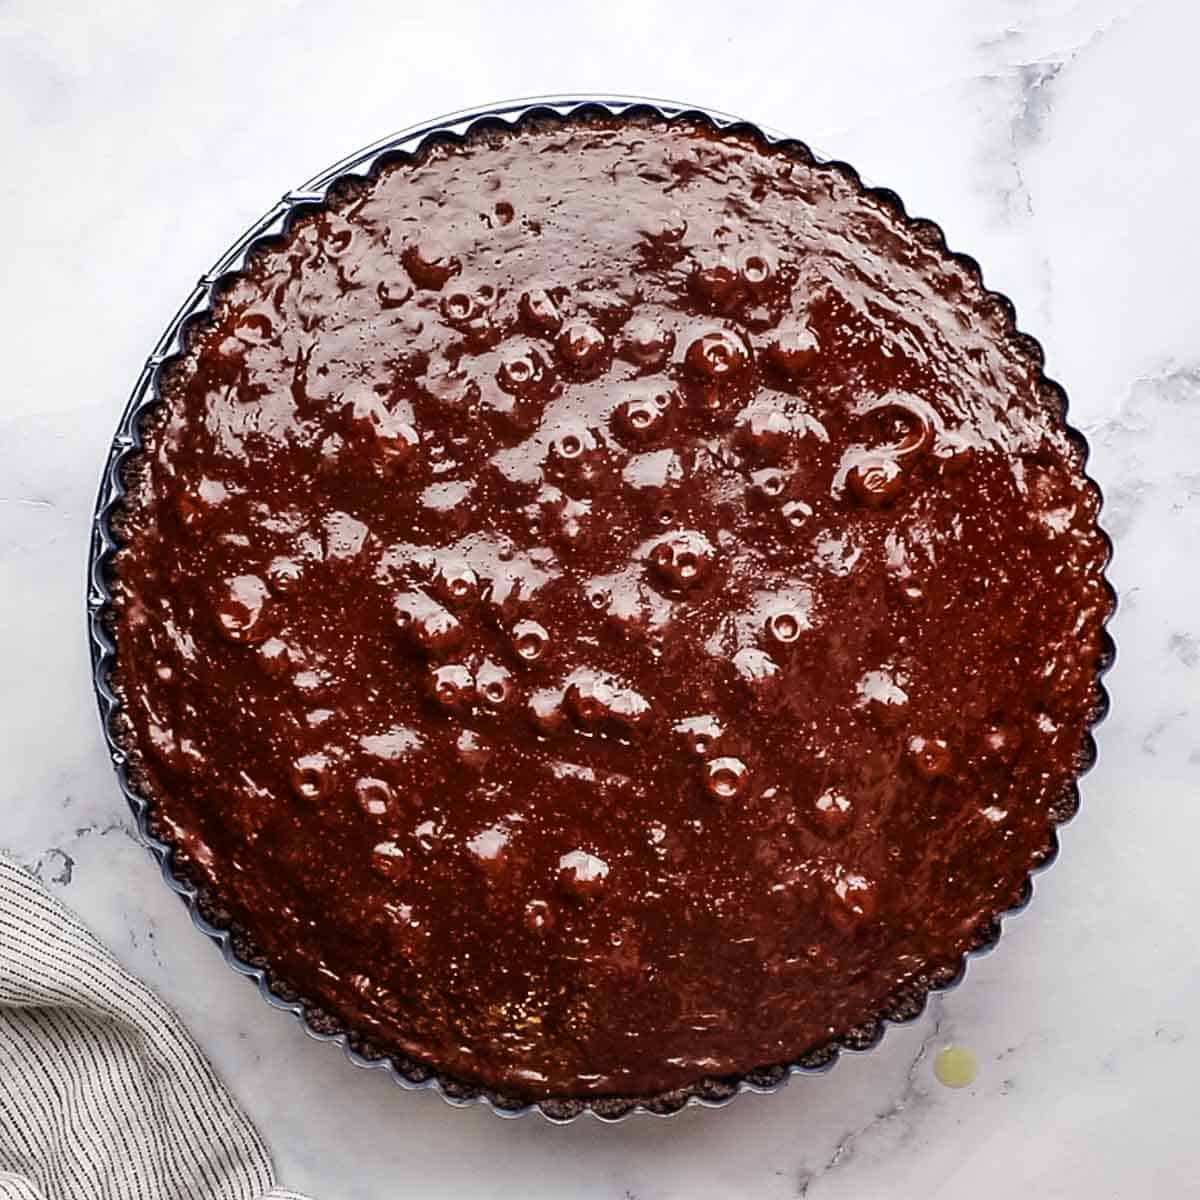
- Transfer the mixture into the cookie crust and bake for 18-25 minutes, or until the filling is firm at the edges but slightly jiggly in the center. The appearance of small cracks on the edges signals it’s time to remove it from the oven.
- Allow the chocolate tart to cool completely on a wire rack (around 1 hour).
For the Chocolate Glaze
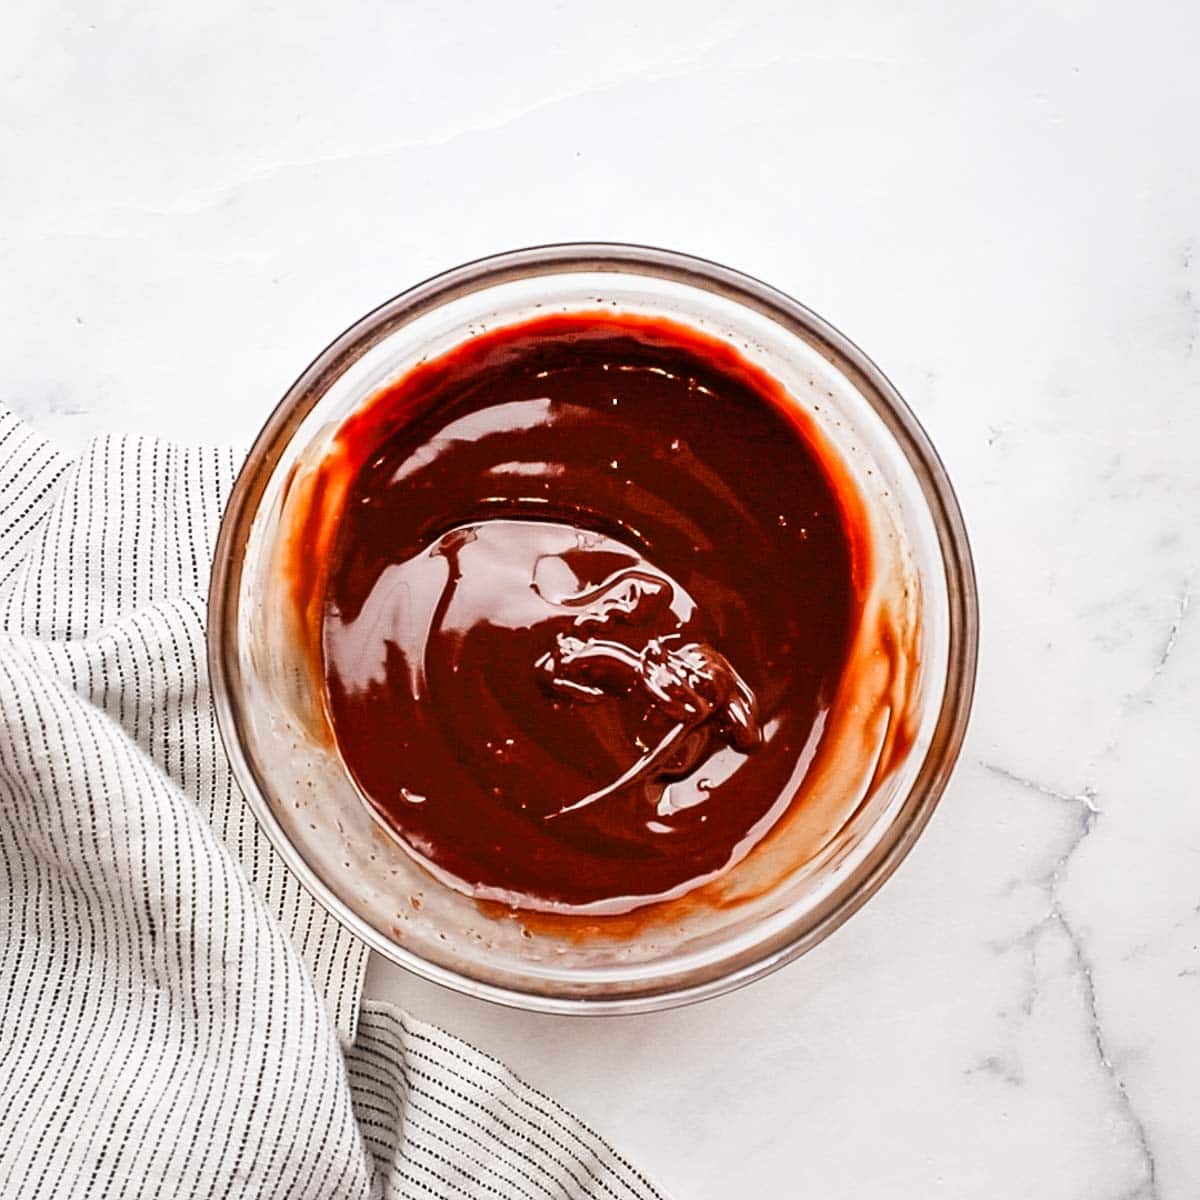
- Heat the heavy cream in a small saucepan until it boils and add it to the chopped chocolate, Mix well.
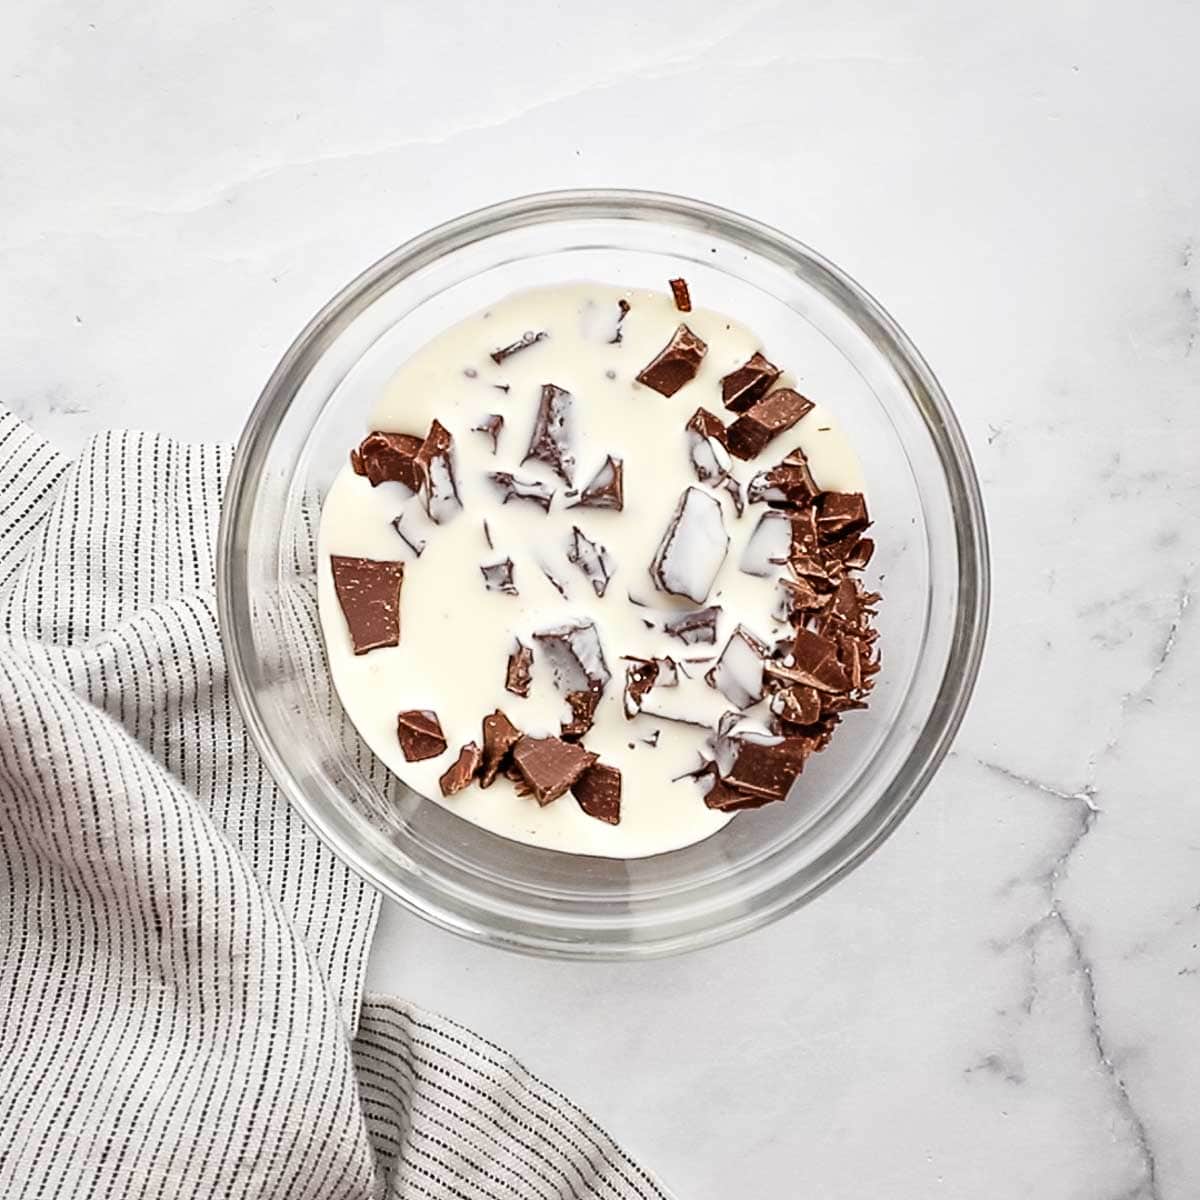
- Next, add in the corn syrup and water, stirring well.
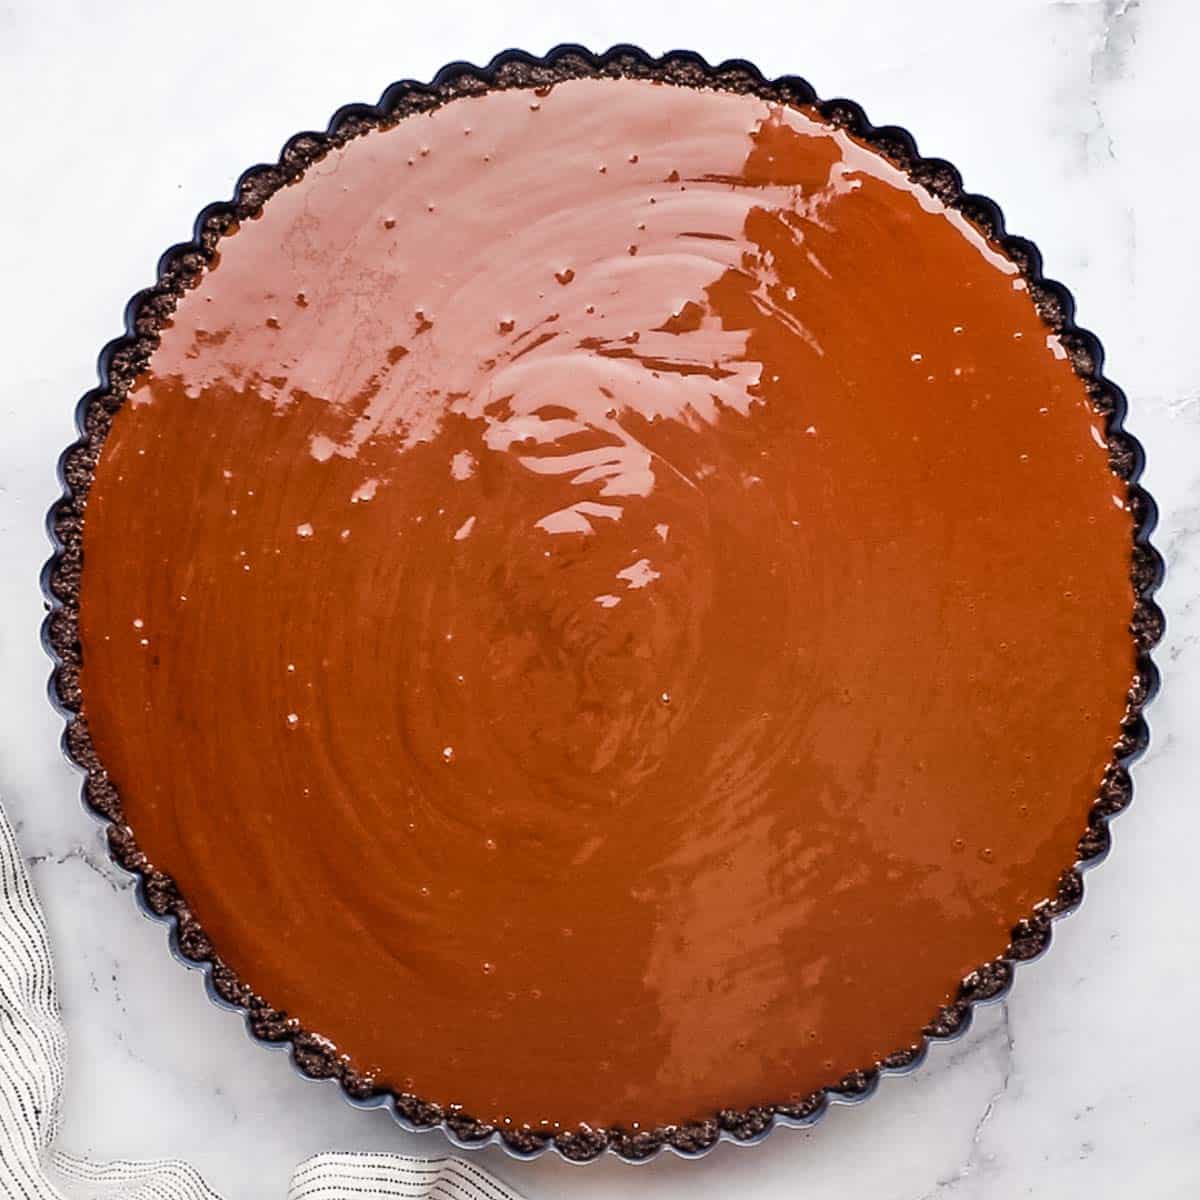
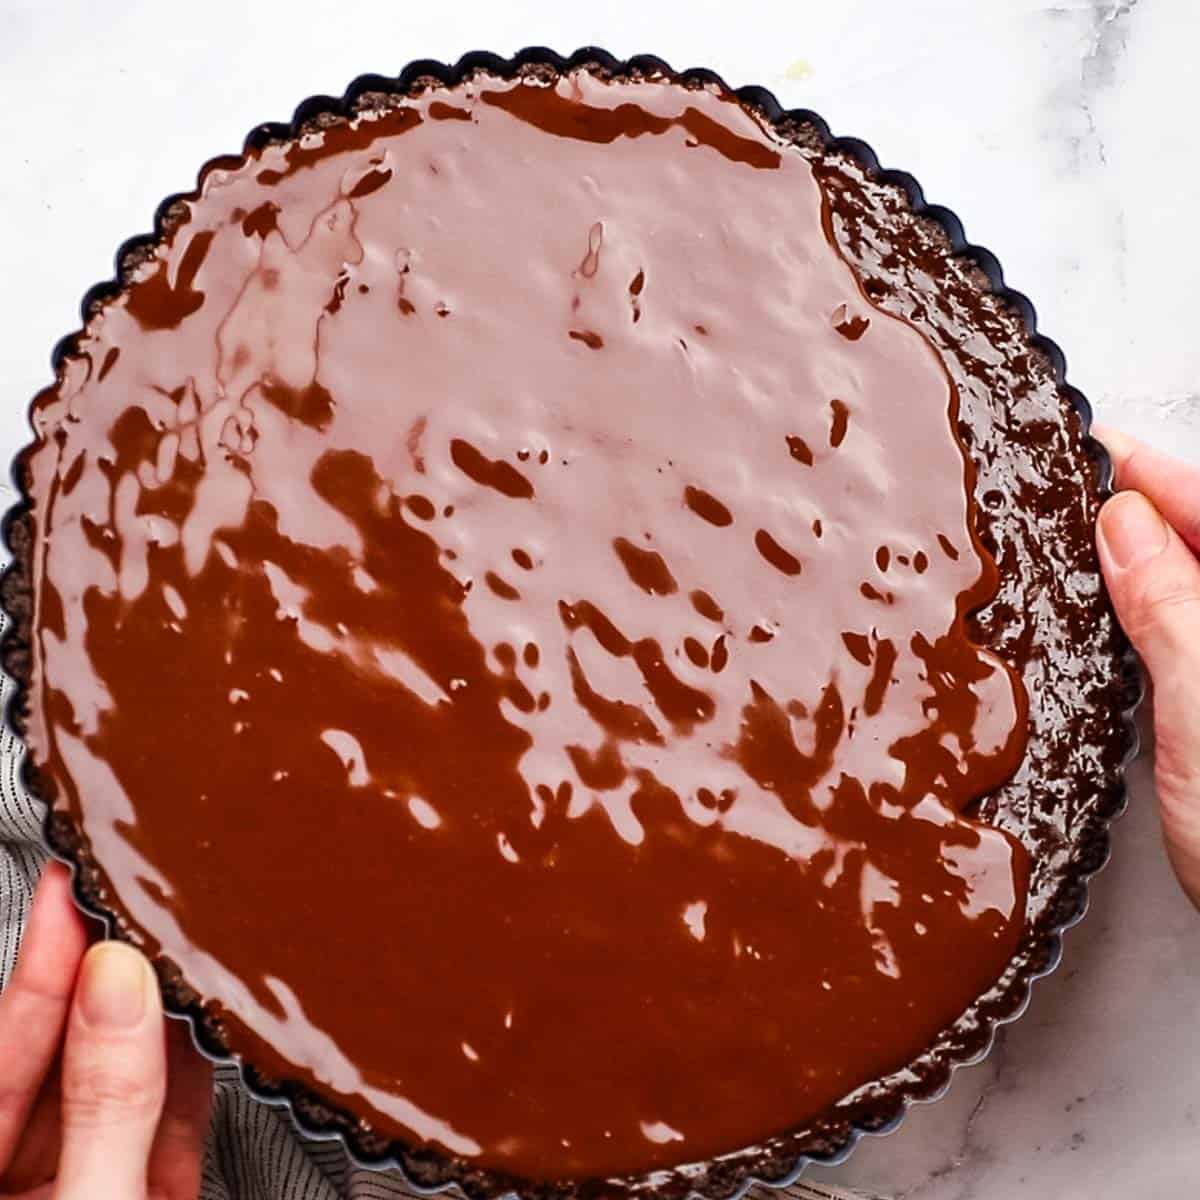
- Pour the glaze over the center of the tart, tilting the pan as needed to cover the surface evenly.
To Decorate
The chocolate glaze that’s poured on top is optional but necessary if you want to decorate your chocolate tart with a pattern, as I did. The technique for the chevron design I went with is super simple.
The key is to make sure that the two glazes you’re using are both of a similar, thin consistency. In this case, the chocolate glaze that’s poured on top of the tart has the same consistency as melted chocolate, which is what I used to make the chevron pattern.
For more fun pattern ideas and tips, see this post from Food52.
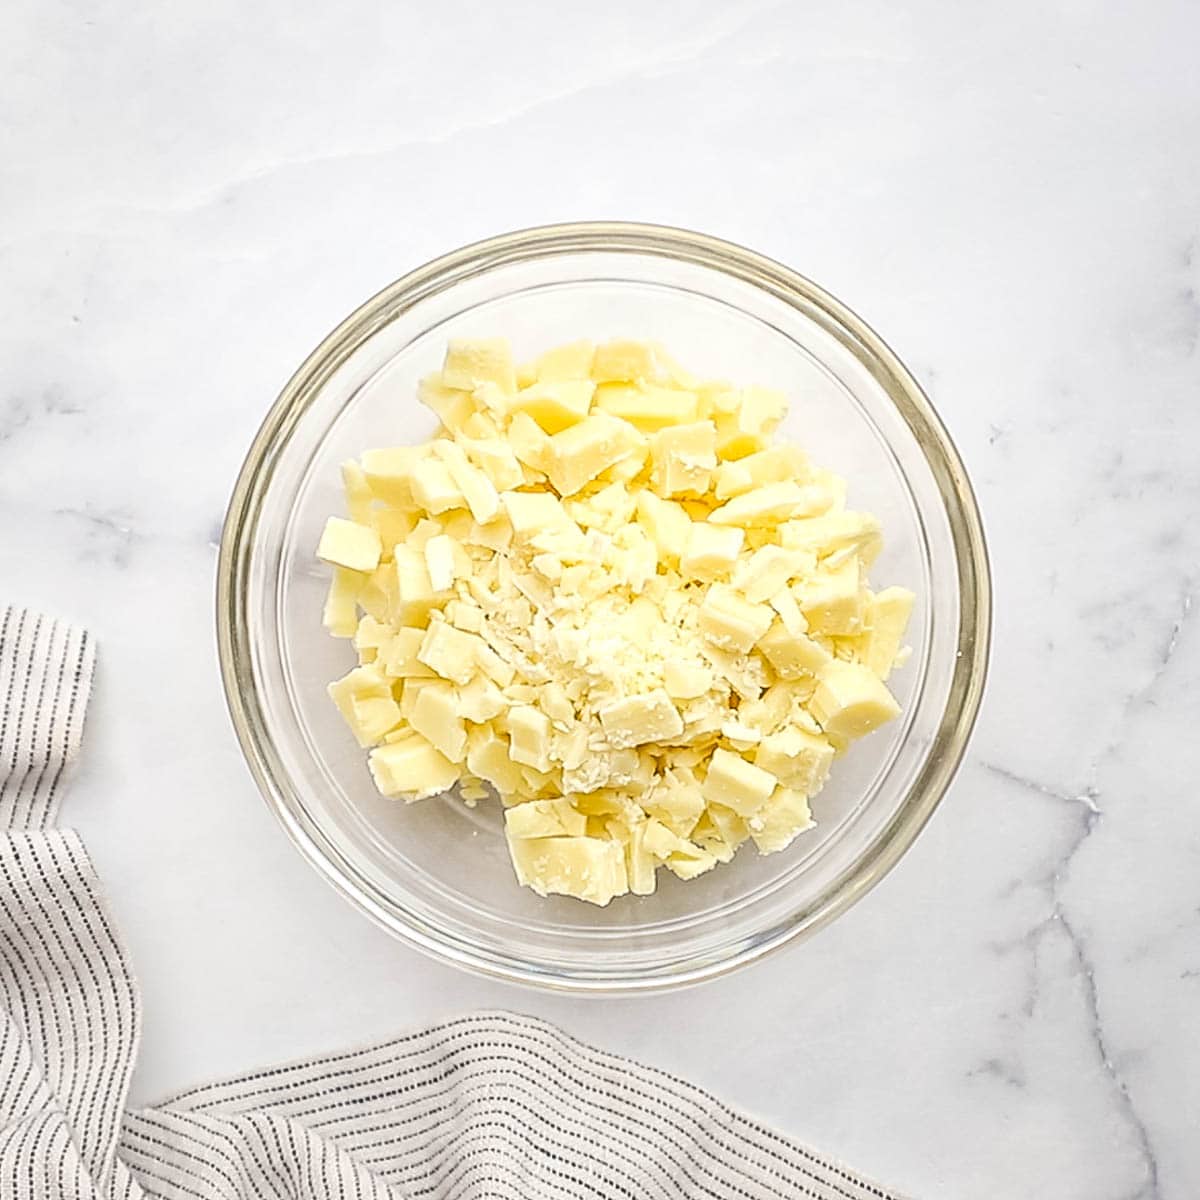
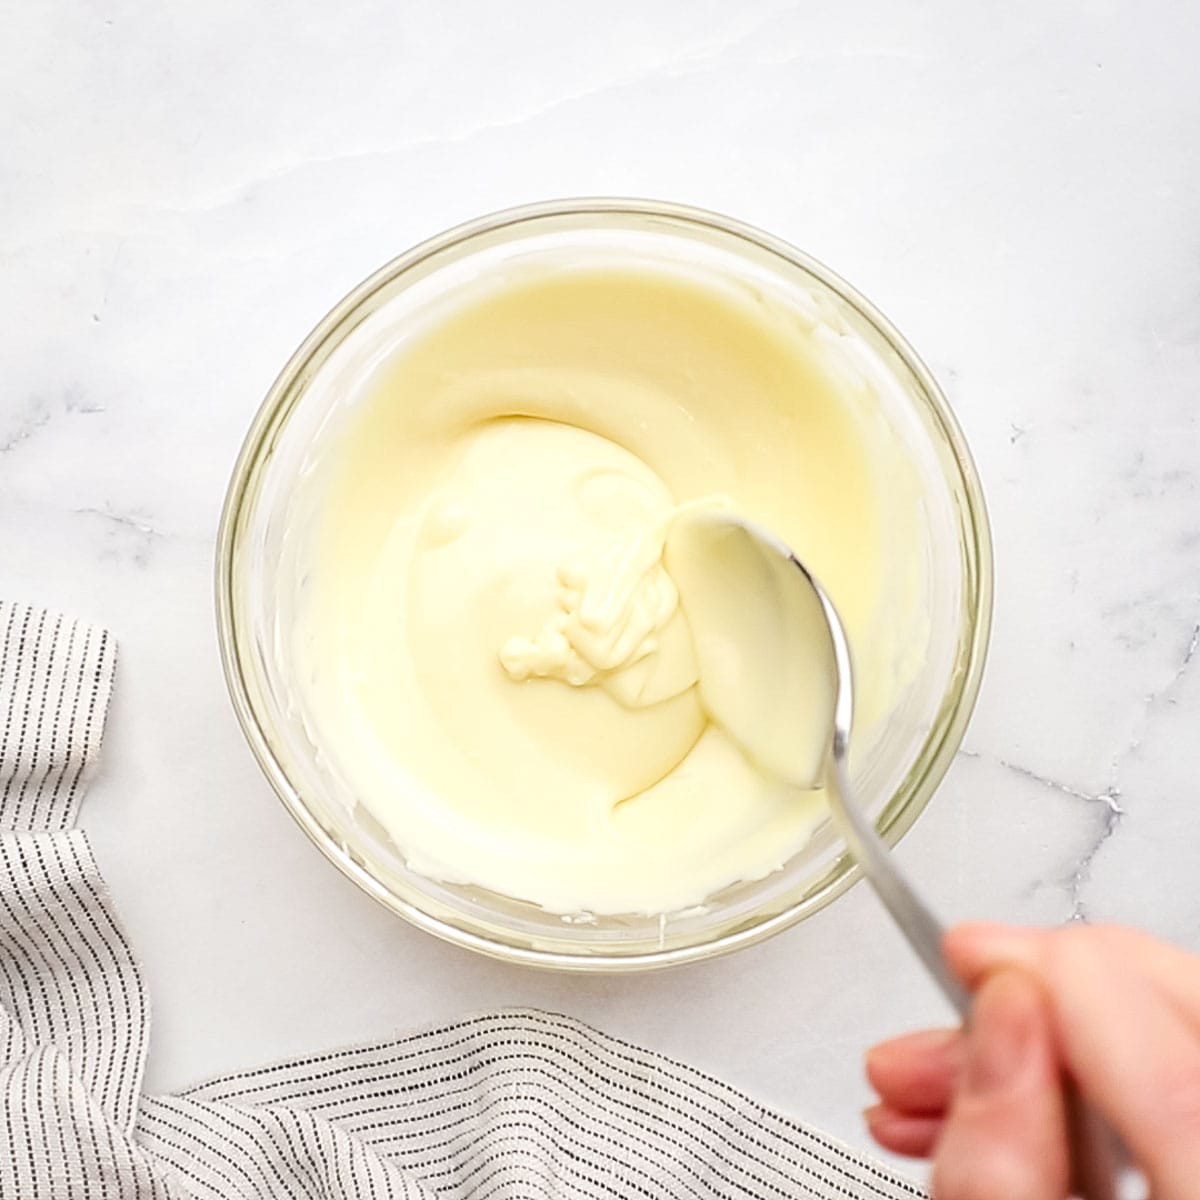
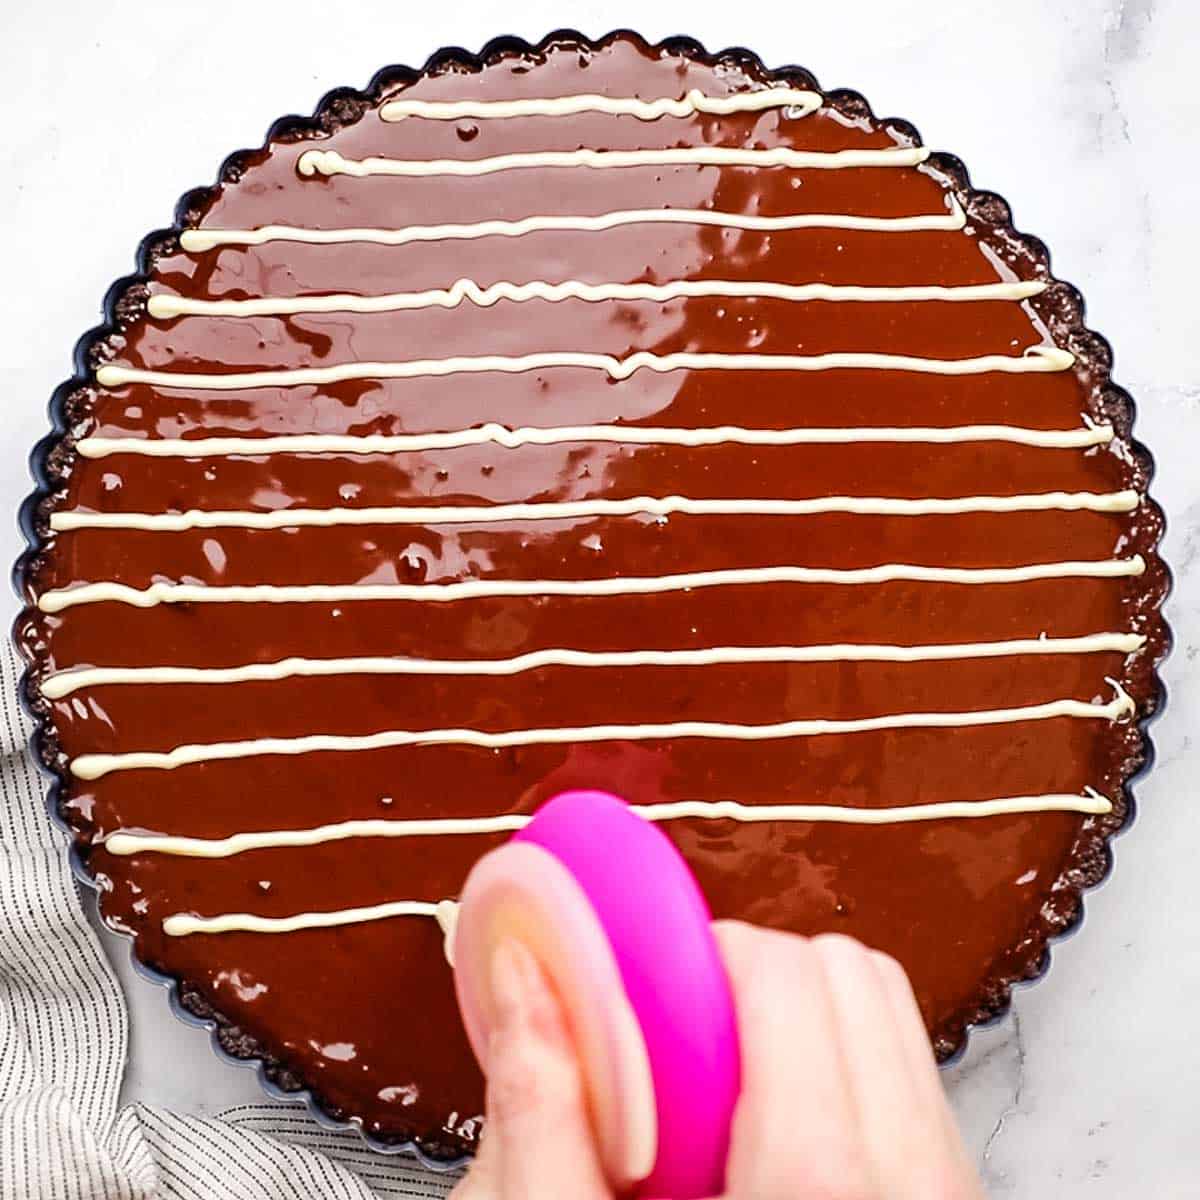
- Before the glaze sets, gently melt the white chocolate in the microwave or over a pot of simmering water using a heatproof bowl.
- Use a piping bag with a narrow tip or this handy little tool to draw evenly spaced, parallel lines over the tart with the melted chocolate.
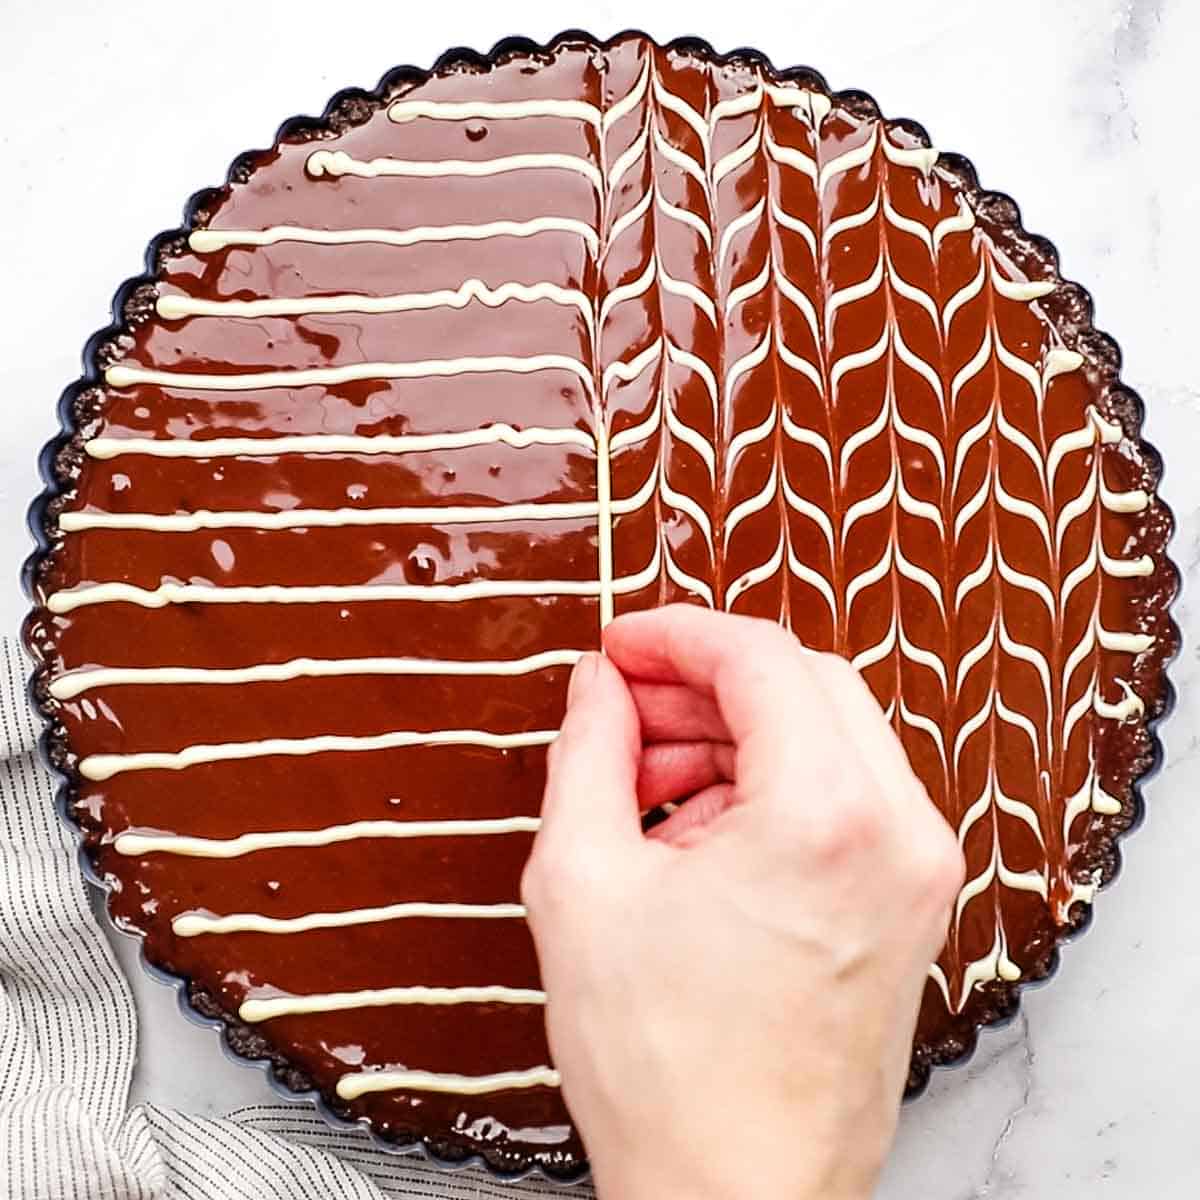
- Then drag a toothpick or skewer in alternating directions across the lines, from one end of the chocolate tart to the other. That’s it!
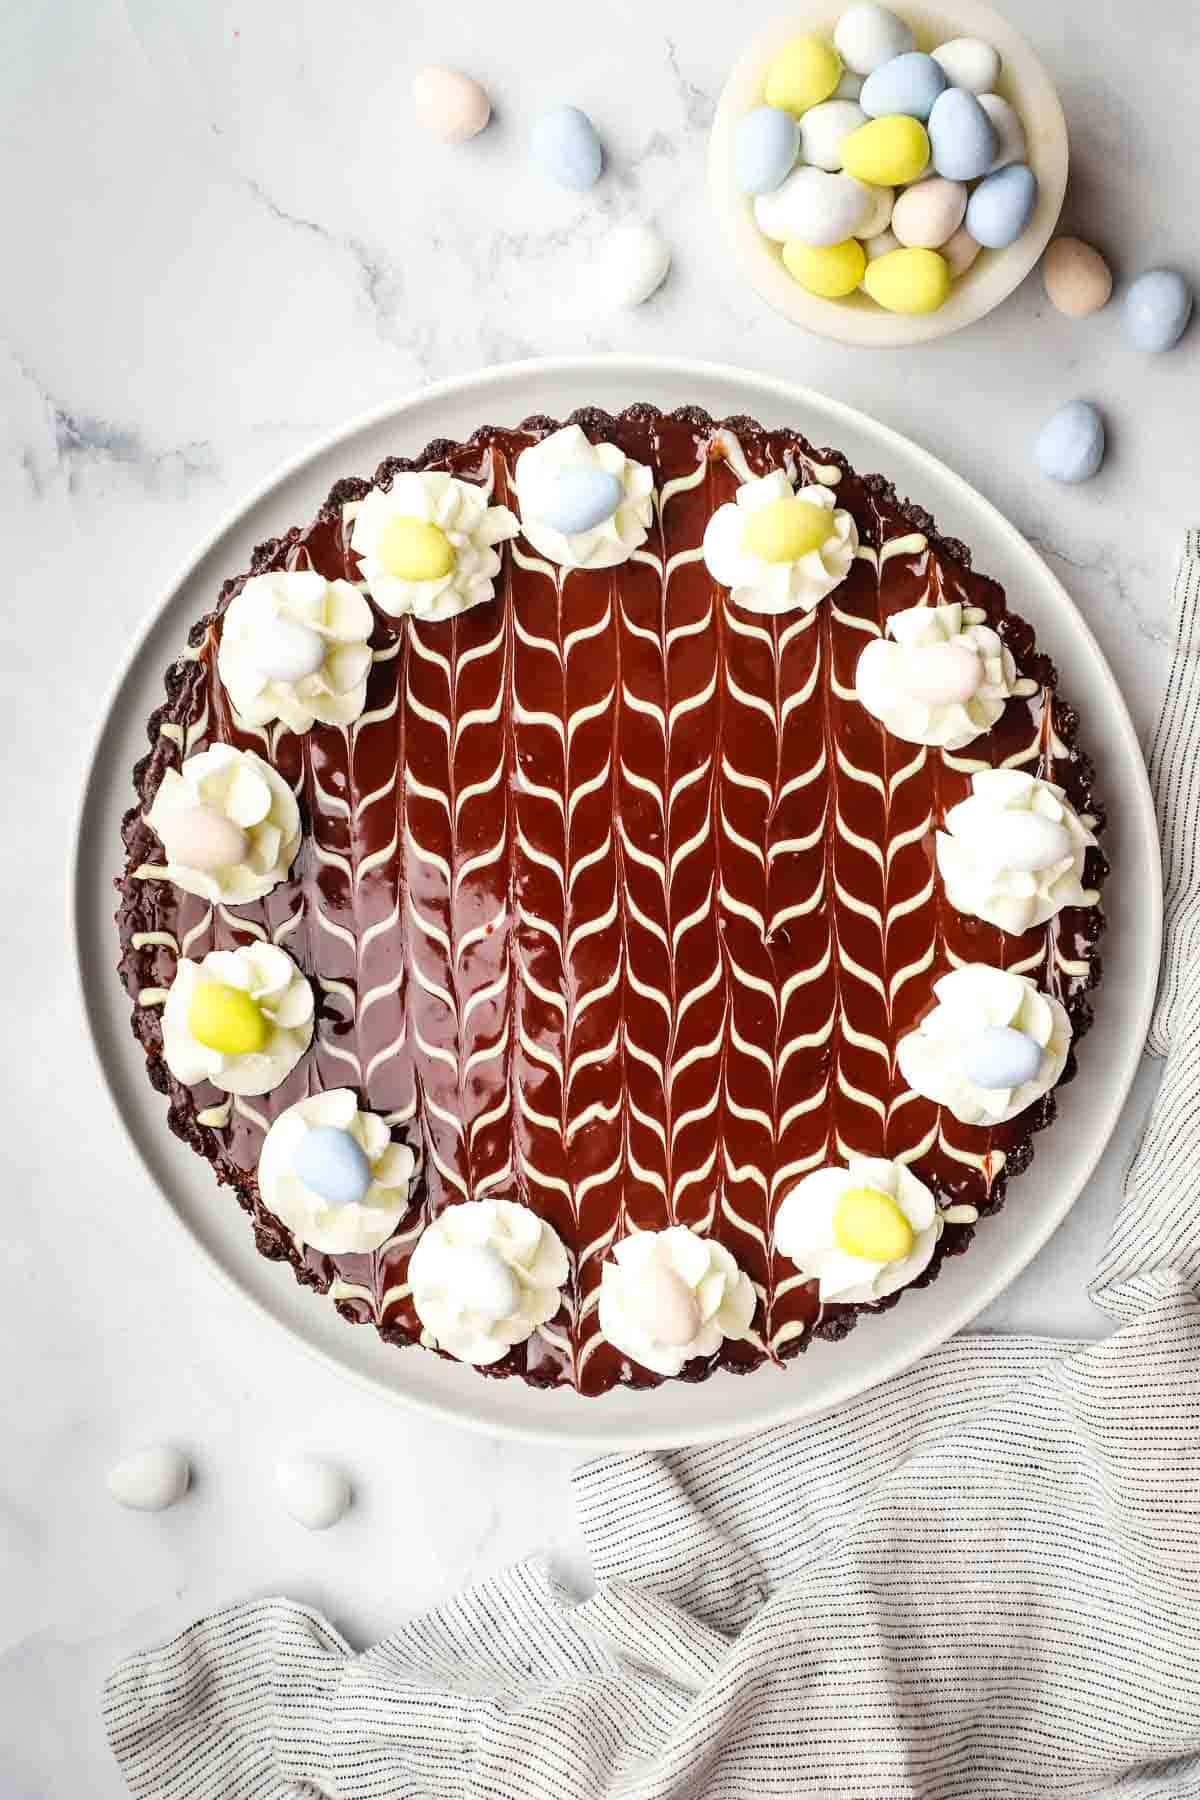
- Whip the heavy whipping cream in a small bowl until it forms stiff peaks. With a piping bag fitted with a star tip, decorate the edges of the chocolate tart and add candy-coated eggs.
Storage Instructions
Before storing, cool your chocolate tart to room temperature. This prevents condensation from forming inside the storage container, which could make the crust soggy.
This tart keeps well for 3-4 days in an airtight container in the refrigerator. The glaze will lose some glossiness when chilled, but it is as delicious served cold.
I do not recommend freezing this tart, as the texture is likely to be altered when thawed.
Tips to Make the Best Chocolate Tart
- The chocolate is the star of your tart, so opt for a good quality chocolate bar with a 50-70% cocoa content.
- For a silky-smooth filling, whisk gently before and after the eggs are added, to avoid incorporating too much air into the filling.
- Keep a close eye on your tart as it bakes. The filling should be set at the edges but still have a slight jiggle in the center. Overbaking can lead to a cracked surface and alter the texture of the chocolate filling.
- For the best flavor and texture, let the tart come to room temperature before serving. This enhances the chocolate’s richness.
More Easter Dessert Ideas
Triple Chocolate Cheesecake Bars
mini no-bake lemon cheesecake tarts
Strawberry shortcakes in mason jars
Tell me what you think!
If you try this recipe, l’d be so grateful if you’d leave a comment and a rating in the recipe card. I love to hear your feedback, and your tips can help other readers too!

Chocolate Tart Recipe for Easter
Tools for This Recipe
Ingredients
Chocolate Cookie Crust
- 24 Oreo cookies (about 265 grams)
- 6 tablespoons unsalted butter melted
- pinch salt
Filling
- 1 cup heavy cream
- 1/2 cup milk
- 10 oz dark chocolate finely chopped
- 2 tablespoons granulated sugar
- pinch salt
- 2 large eggs at room temperature, beaten
Glaze
- 2 tablespoons heavy cream
- 1 3/4 oz dark chocolate finely chopped
- 1 teaspoon corn syrup
- 1 tablespoon warm water
For decorating
- 3 oz white chocolate melted
- 1/2 cup heavy whipping cream
- 10 candy-coated mini eggs
Instructions
Chocolate Cookie Crust
- Preheat the oven to 350 degrees F.
- In a food processor, pulse the oreo cookies into fine crumbs (or put the cookies in a gallon size baggie and crush with a rolling pin).
- Stir in the melted butter and sugar until cookie crumbs are moistened.
- Press the cookie crumbs into the sides and bottom of a 9 or 10 inch tart pan. Transfer the tart pan to a baking sheet and bake in the preheated oven for 8-10 minutes. Remove from the oven and let cool while you prepare the filling.
Filling
- Lower the oven temperature to 325 F.
- In a small saucepan over medium heat, heat the milk and cream until it comes to a very gently simmer.
- Place the chopped chocolate into a medium mixing bowl and pour the hot cream and milk over the chocolate. Whisk until smooth. Gently whisk in the sugar, salt and eggs until well combined, trying to avoid incorporating too much air into the mixture.
- Pour the filling into the cooled tart shell, and bake for 25-30 minutes until the filling is set around the edges, but still a bit jiggly in the center. When small cracks begin to appear at the edges, it should be almost ready to take out. Cool completely (about 1 hour).
Glaze
- In a small saucepan, bring the cream to a boil. Stir in the chocolate until smooth. Add corn syrup and water and stir until incorporated. Pour the glaze in the center of the cooled tart and tilt it around until the glaze evenly coats the top of the tart.
To decorate
- Melt the white chocolate slowly in the microwave, or in a heatproof bowl fitted over a pot of simmering water.
- Using a piping bag fitted with a writing piping tip, draw parallel, evenly spaced lines of white chocolate across the tart. Drag a toothpick or skewer across the lines in alternating directions all the way across the top.
- Beat the whipping cream (along with a little icing sugar and a few drops of vanilla extract if you like it sweeter) in a small bowl until stiff peaks form. Using a piping bag fitted with a star tip, pipe a design along the edges and decorate with candy-coated eggs, if desired.


The Easter roundup is live on my blog 🙂
Awesome thanks Jeannette!! 🙂
This chocolate tart looks so scrumptious! Love how you decorated it too. Perfect for Easter!
Thanks Marie!
Oh my…I just found an addition to my Easter menu! Yum!!! The chevron pattern is super cute too!!
Thanks Tiffany! It was surprisingly easy!
Wow, this
CHOCOLATE TART so cute! I would love to eat him for breakfast, lunch and dinner! Thank you for sharing this great recipe!
Thank you Veena! I would eat it any time too 😉
This tart looks like a work of art. I love the decor that you have done and it’s chocolate, so what’s not to love.
You are so sweet Charla! It was actually super easy to do though 🙂
I love how easy you make that chevron pattern look to make
Thanks Sandi! It really is simple, promise!